Bike-Rafting 101
-Bjørn Olson

Bike-Rafting
How to get started
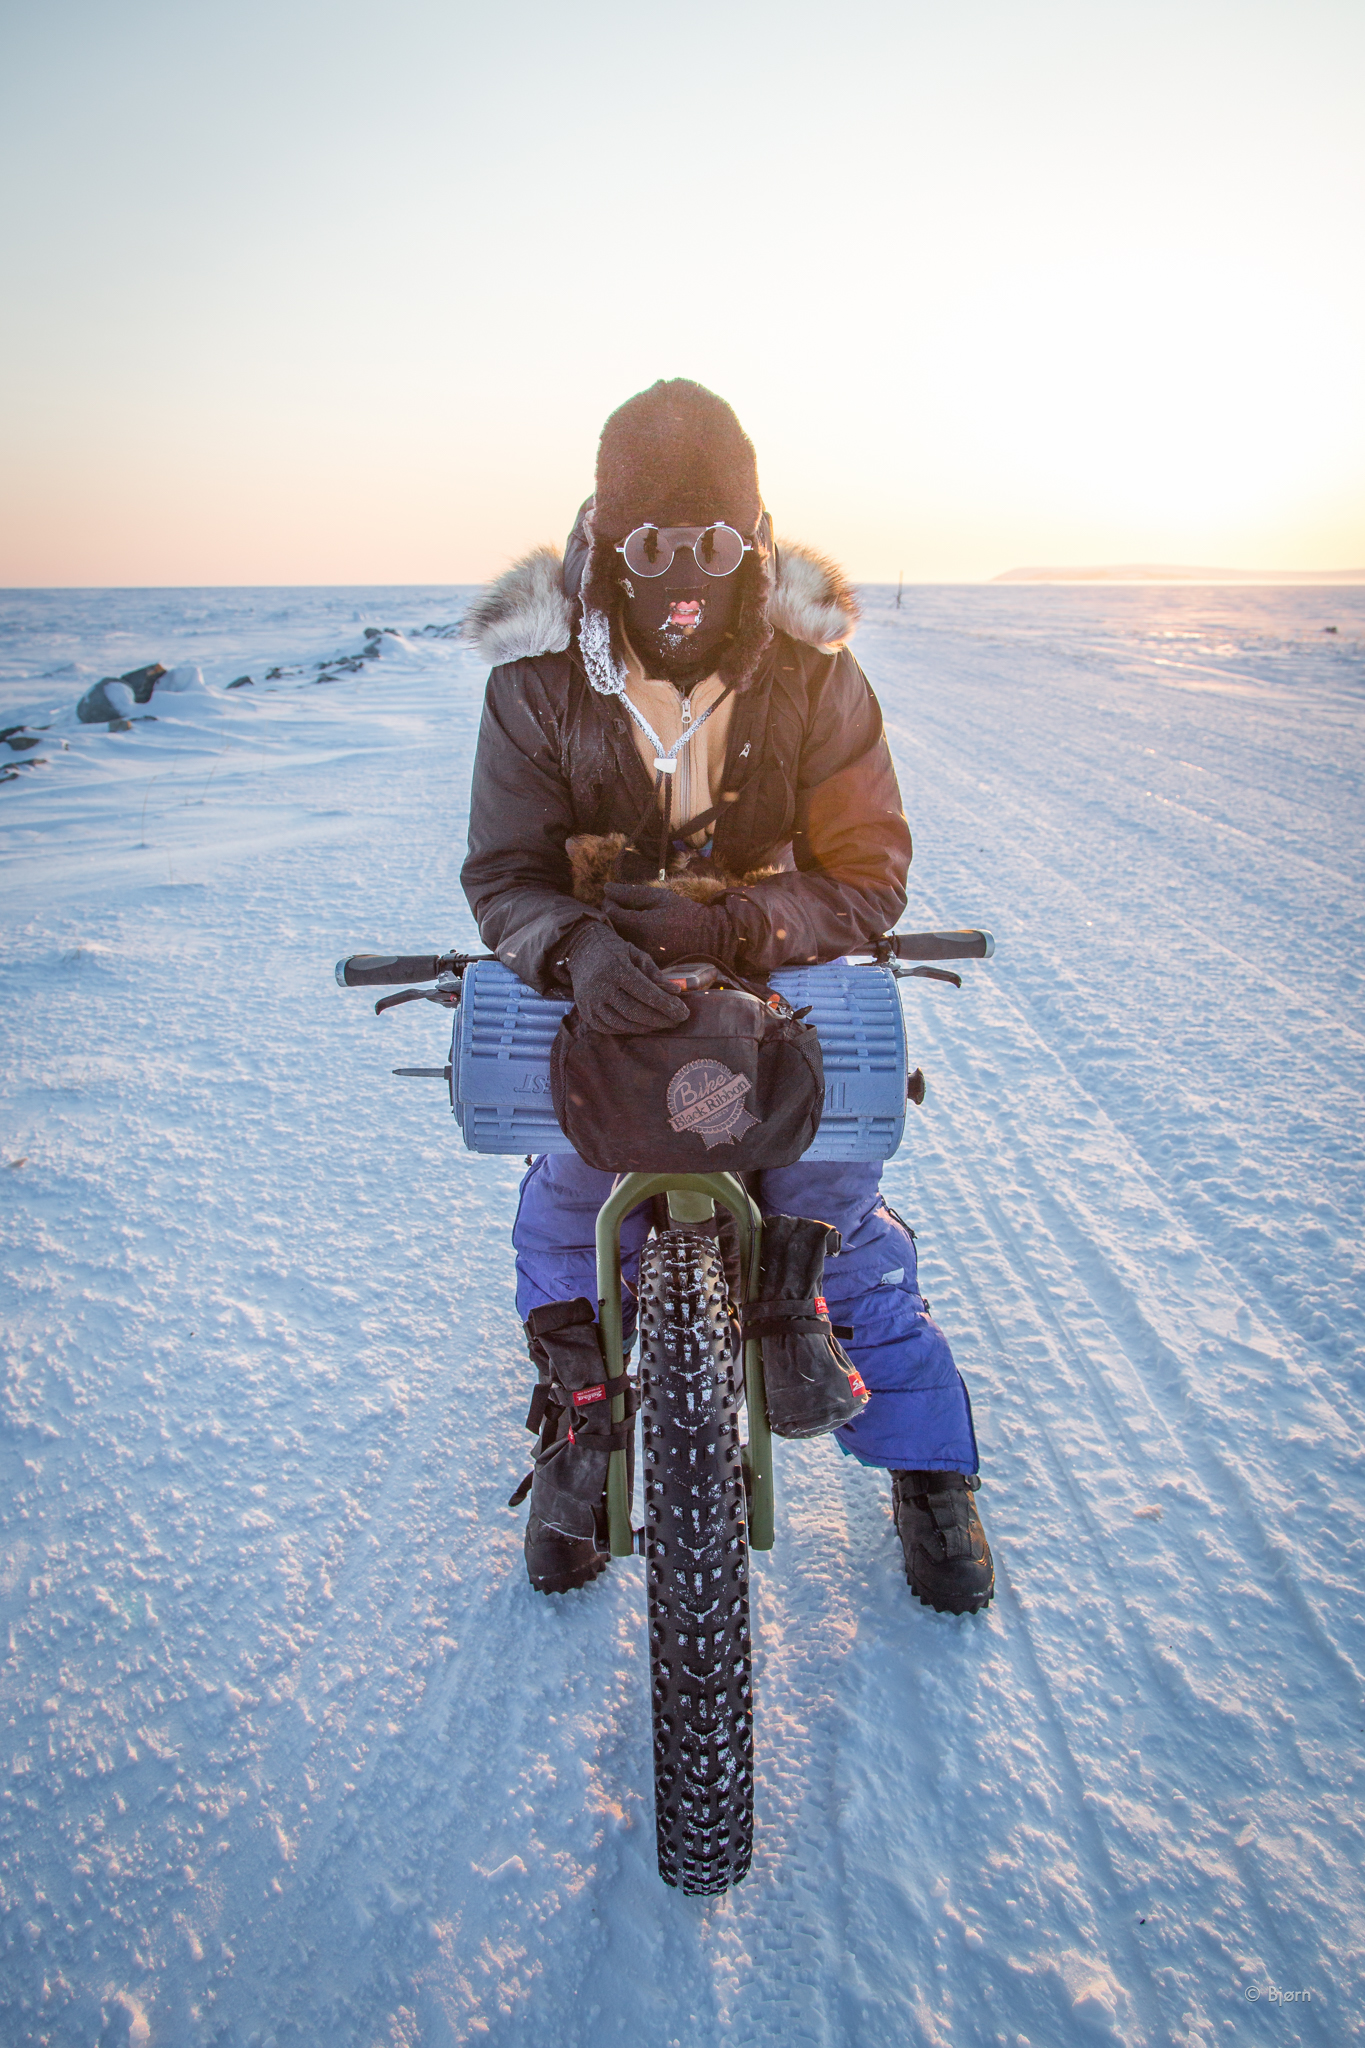
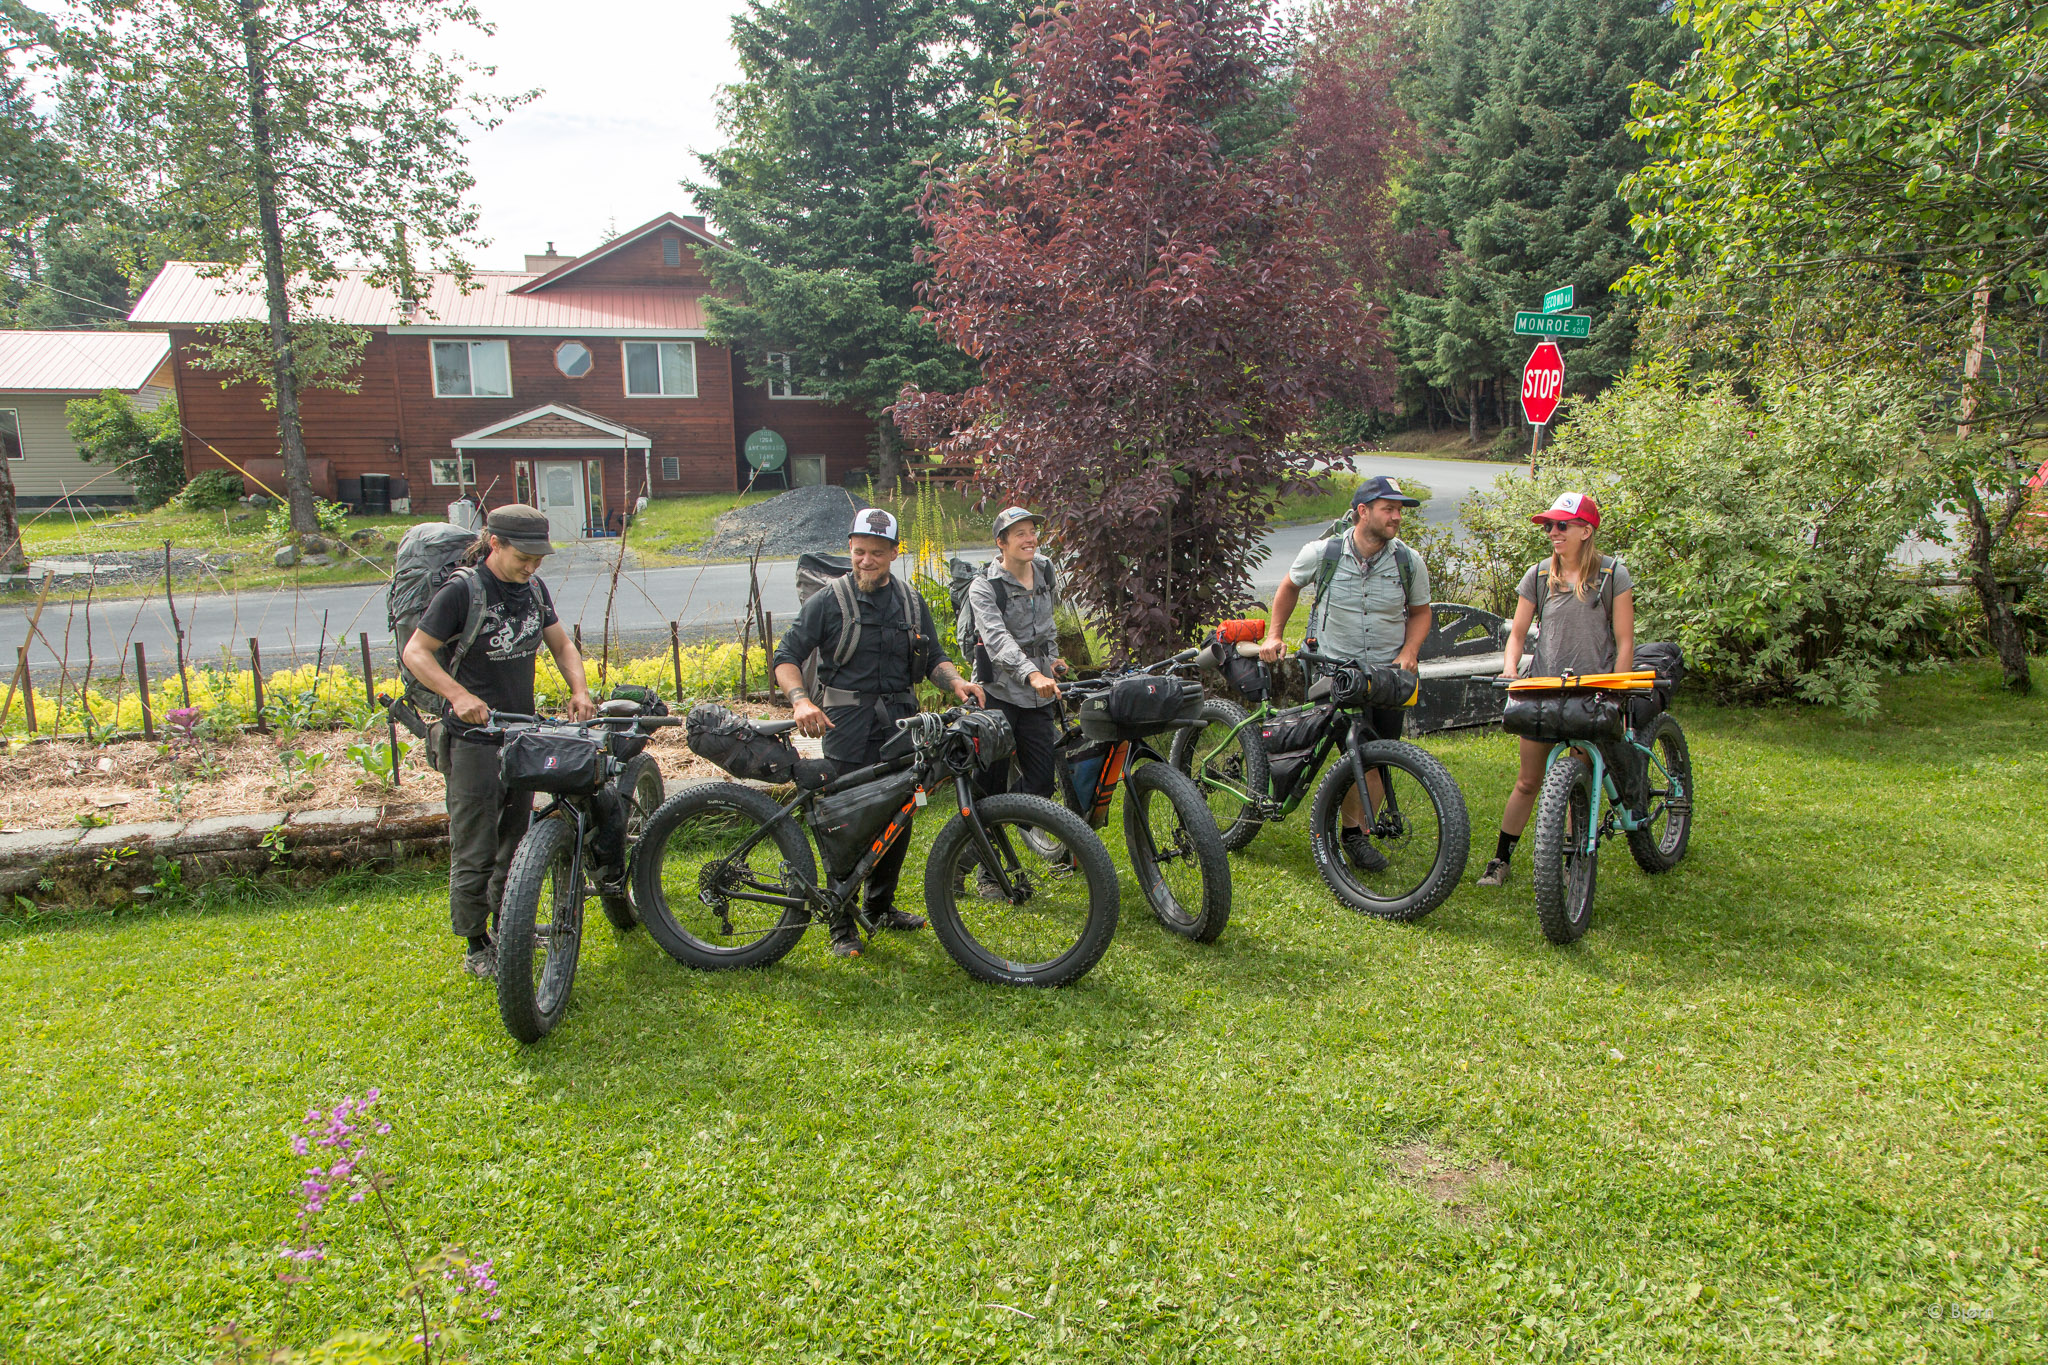
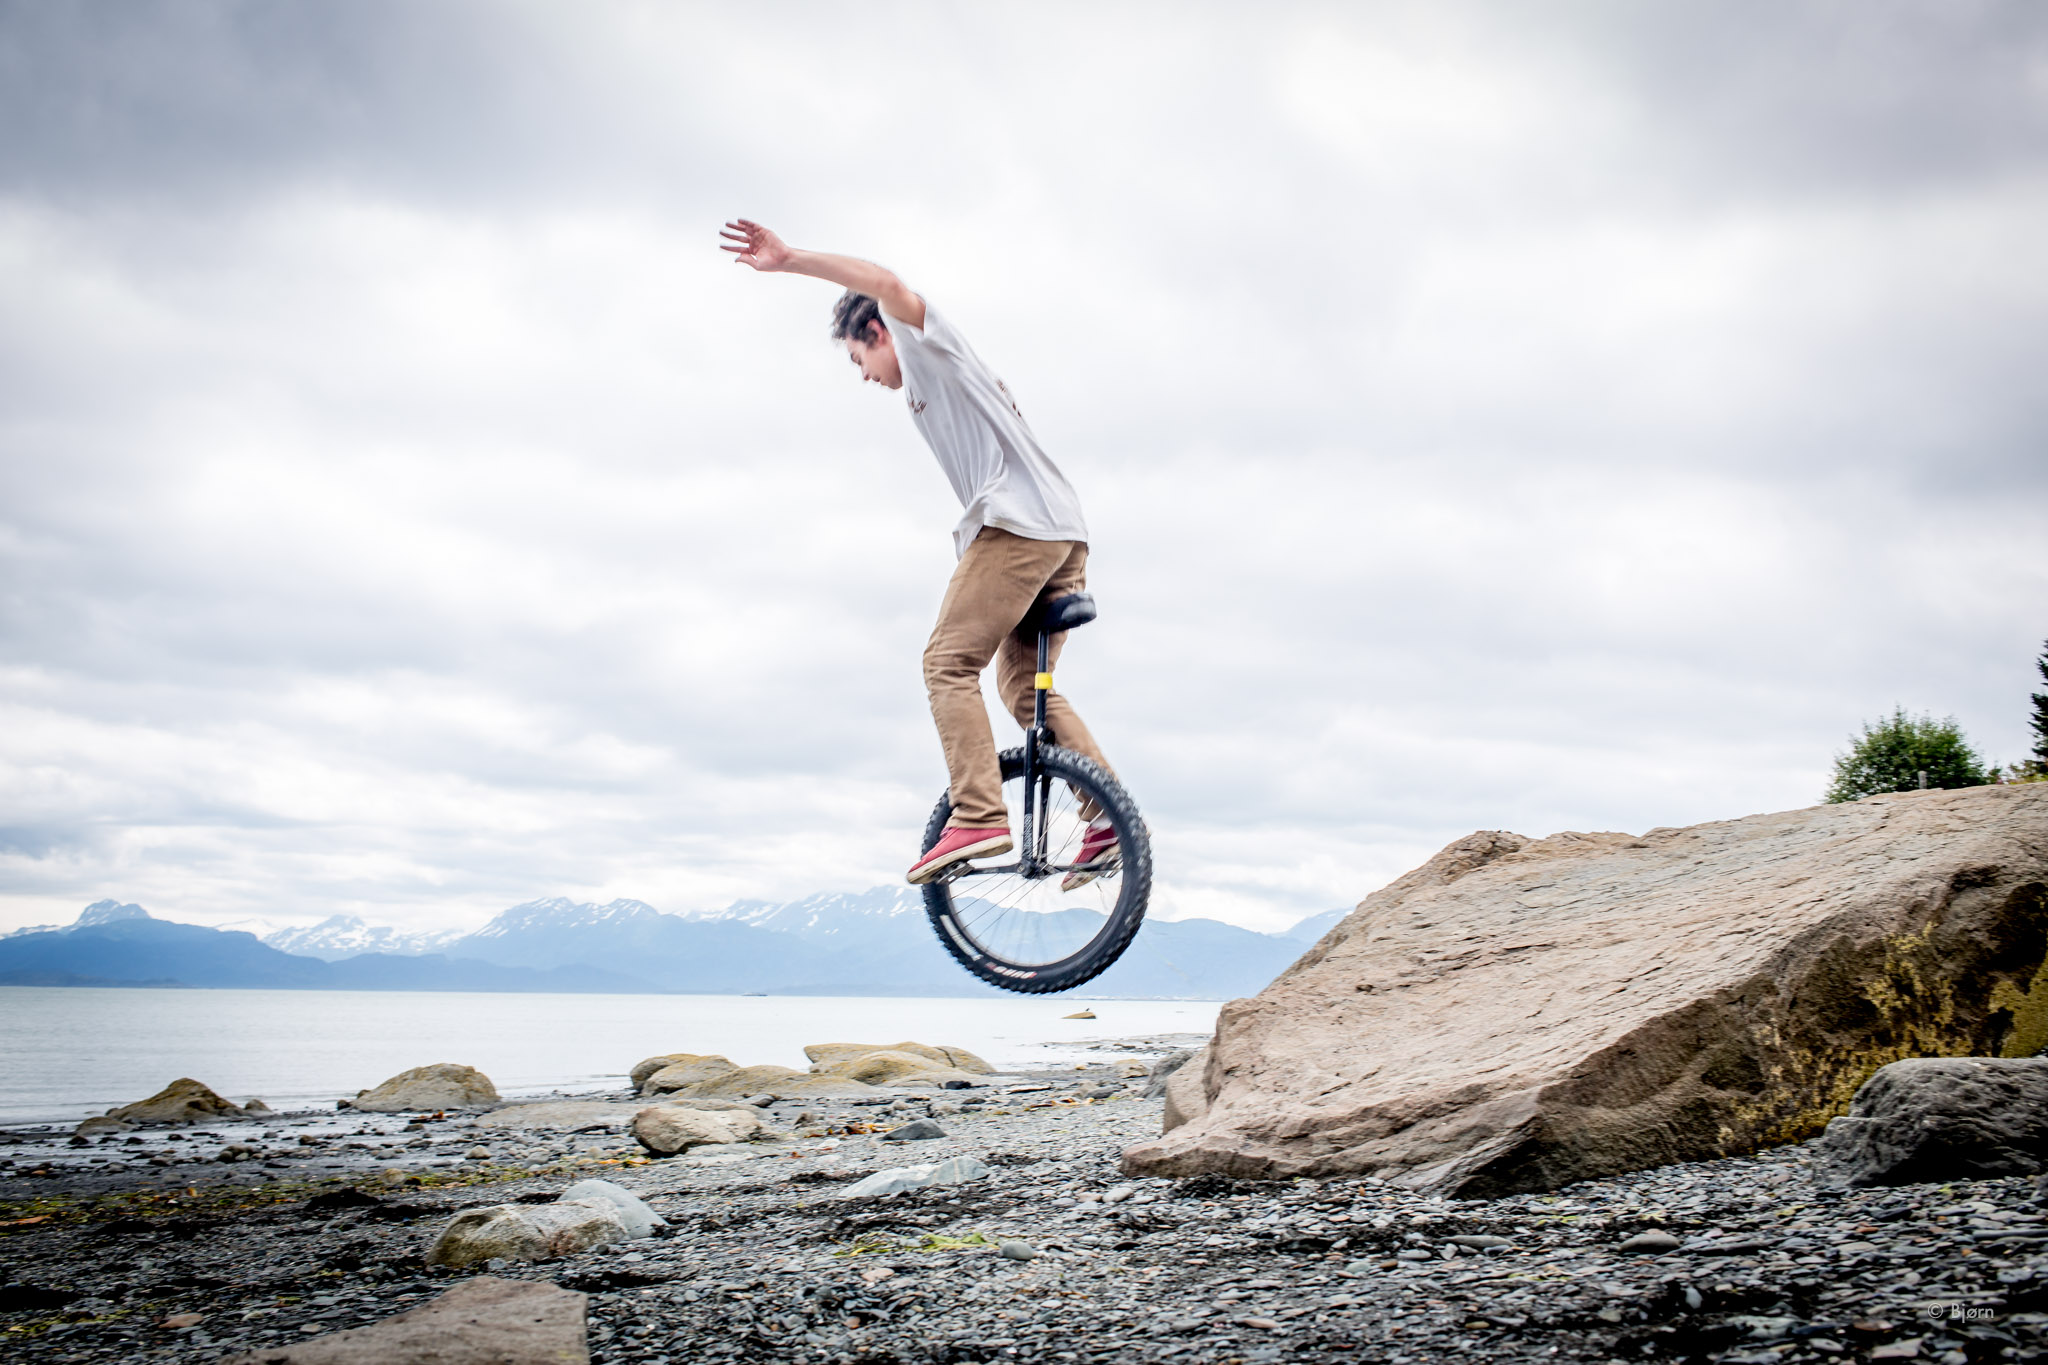
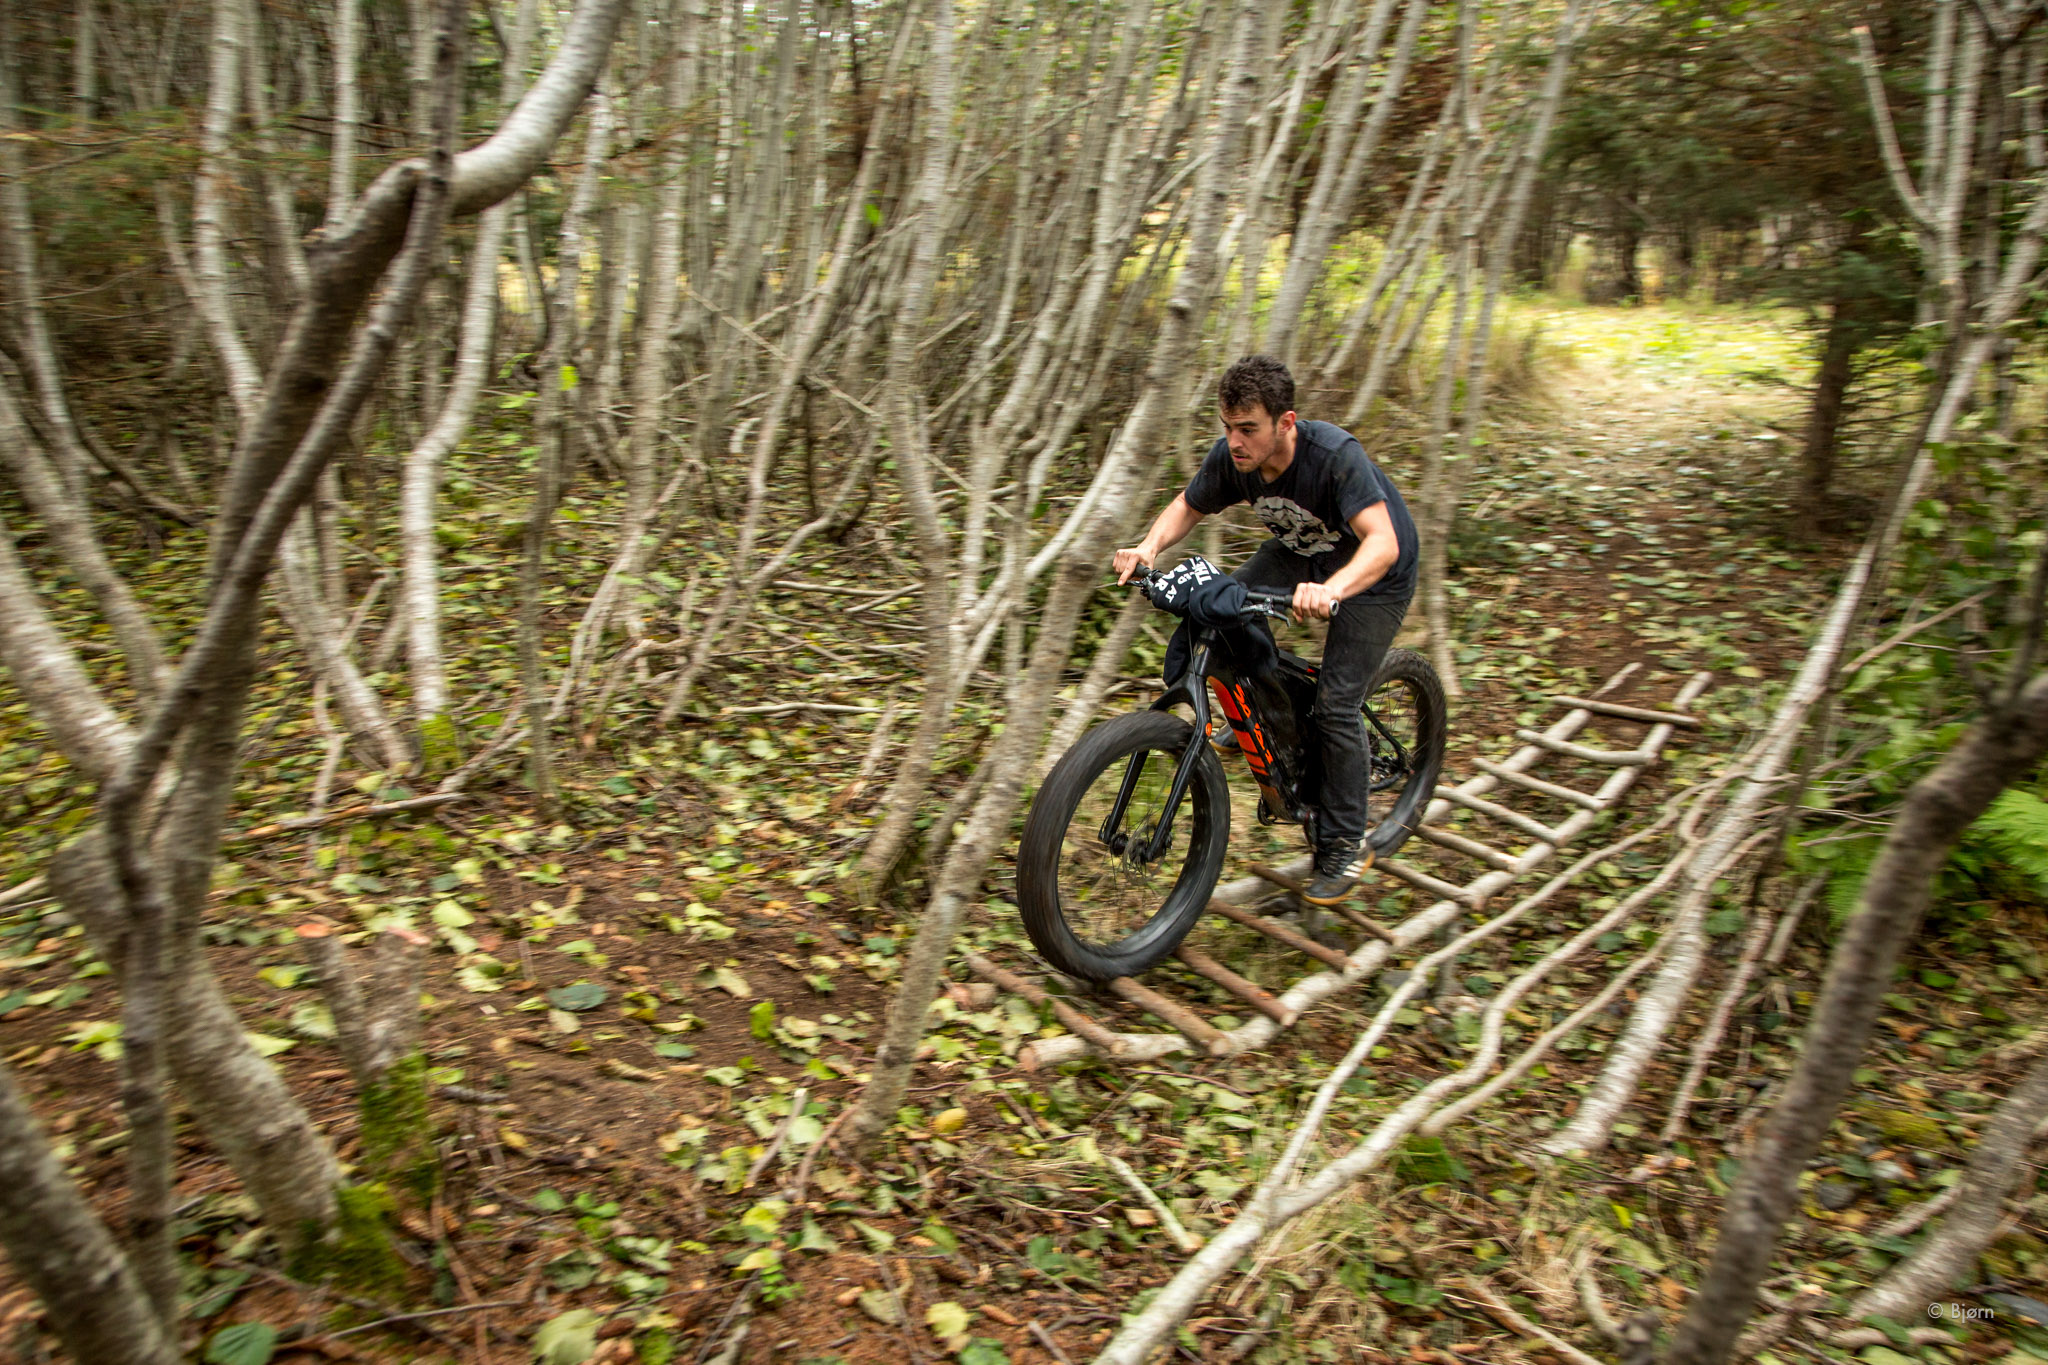
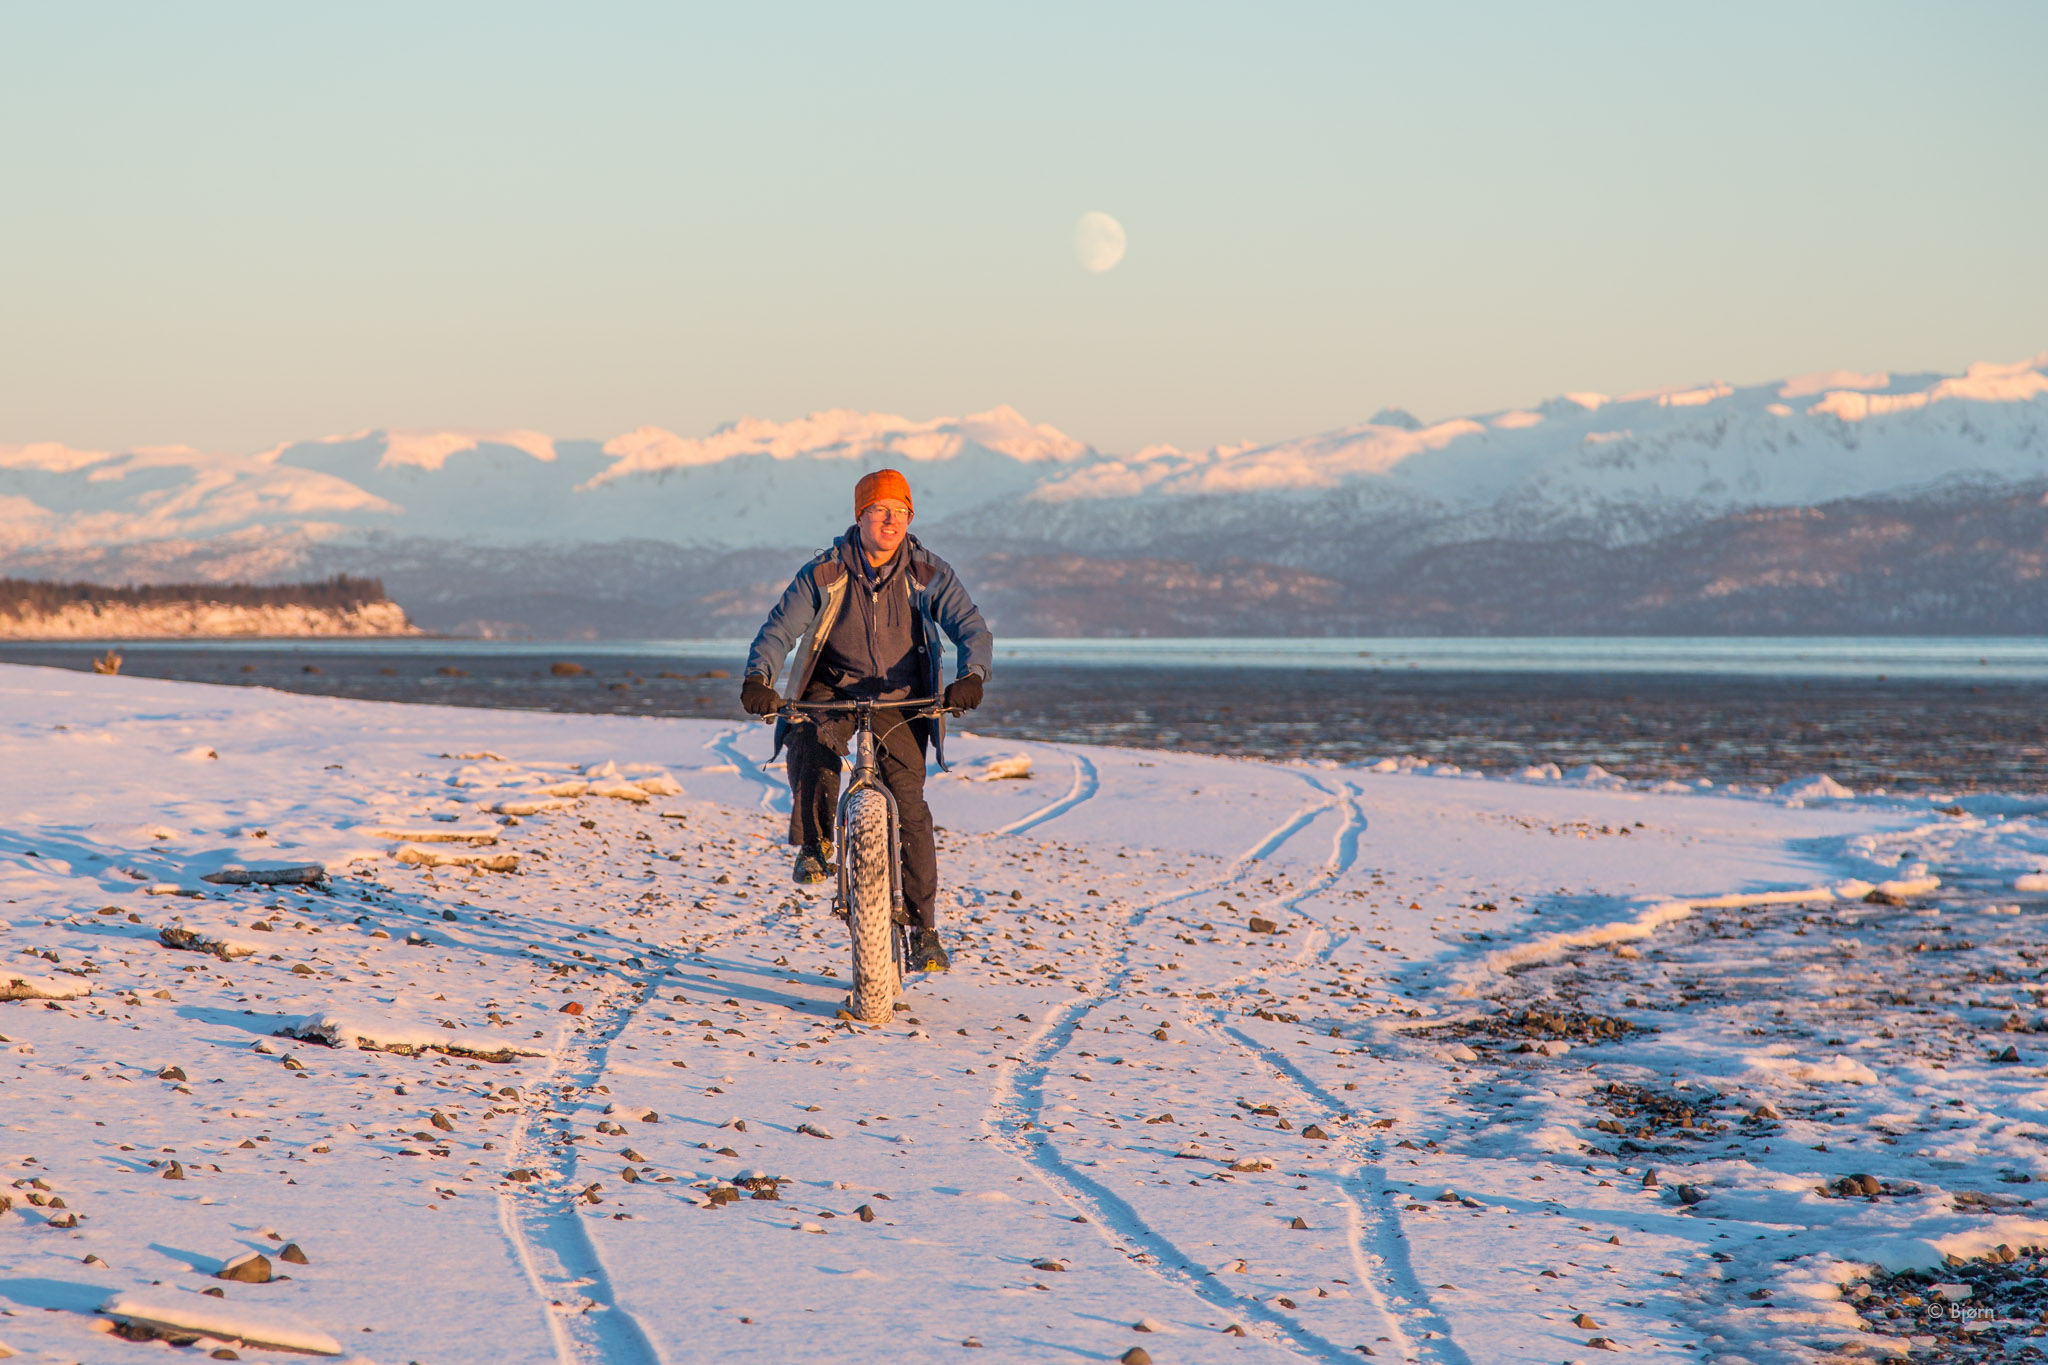
Over the last dozen years, a new breed of cycling has exploded around the world. Fat-bikes and plus bikes are allowing people to go places outside the confines of traditional mountain bikes. An era of creative adventure and discovery is currently underway.
With these omni-terrain bicycles, creative wilderness routes have begun to come into focus. Every year and in all seasons, people are coming up with unique routes to attempt. From forest to alpine, beaches, desert, tundra and all bioregions in between, fat-bikes and plus-bikes are filling an organic niche for people looking for a raw wilderness experience from the saddle of a bicycle.
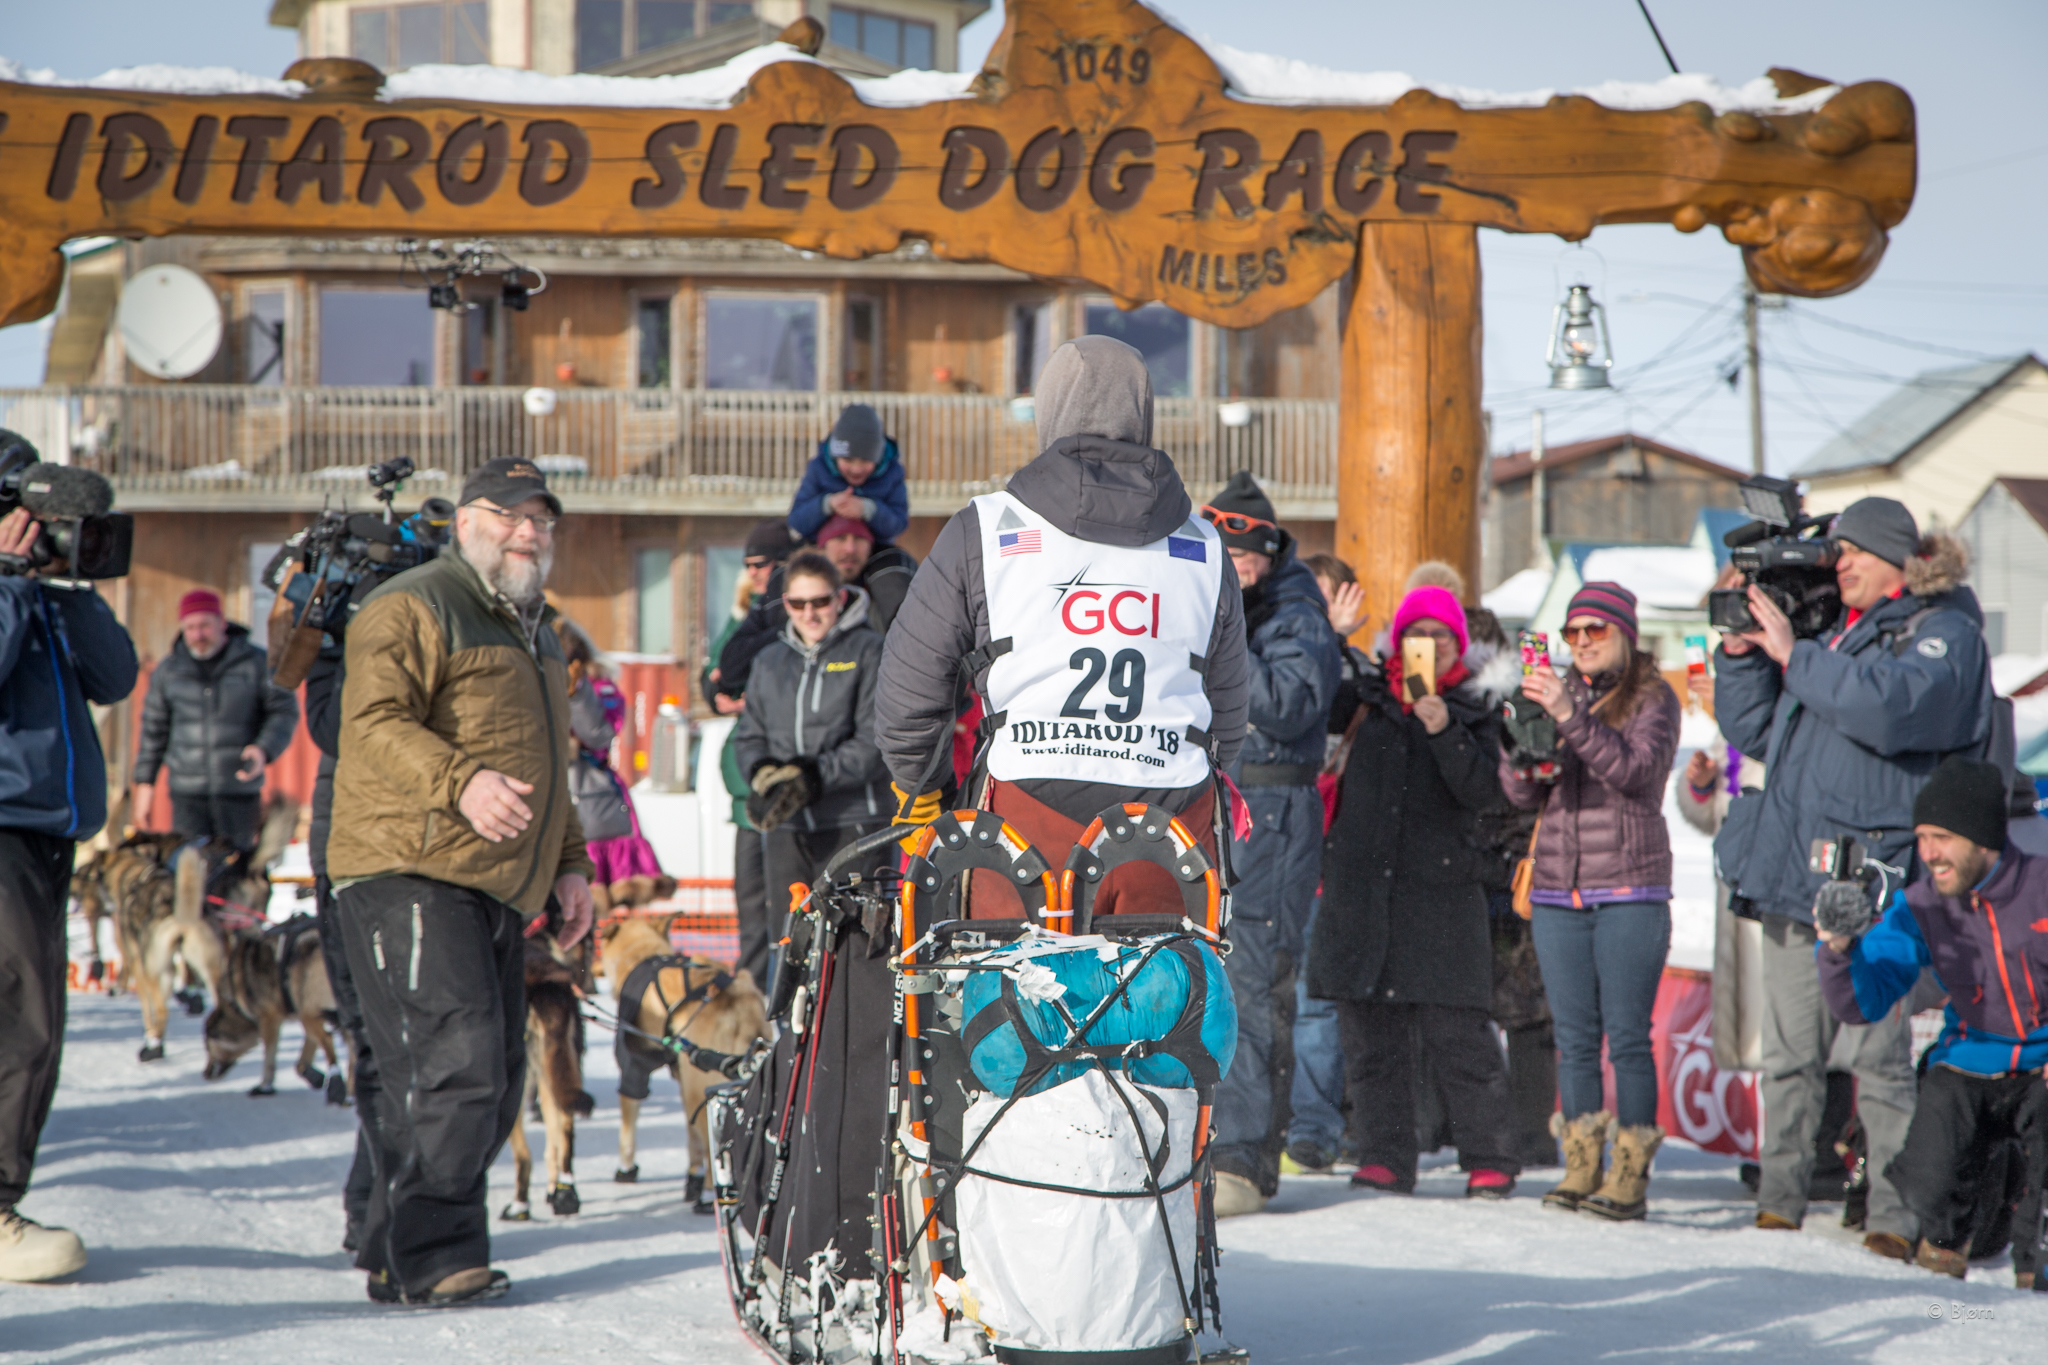
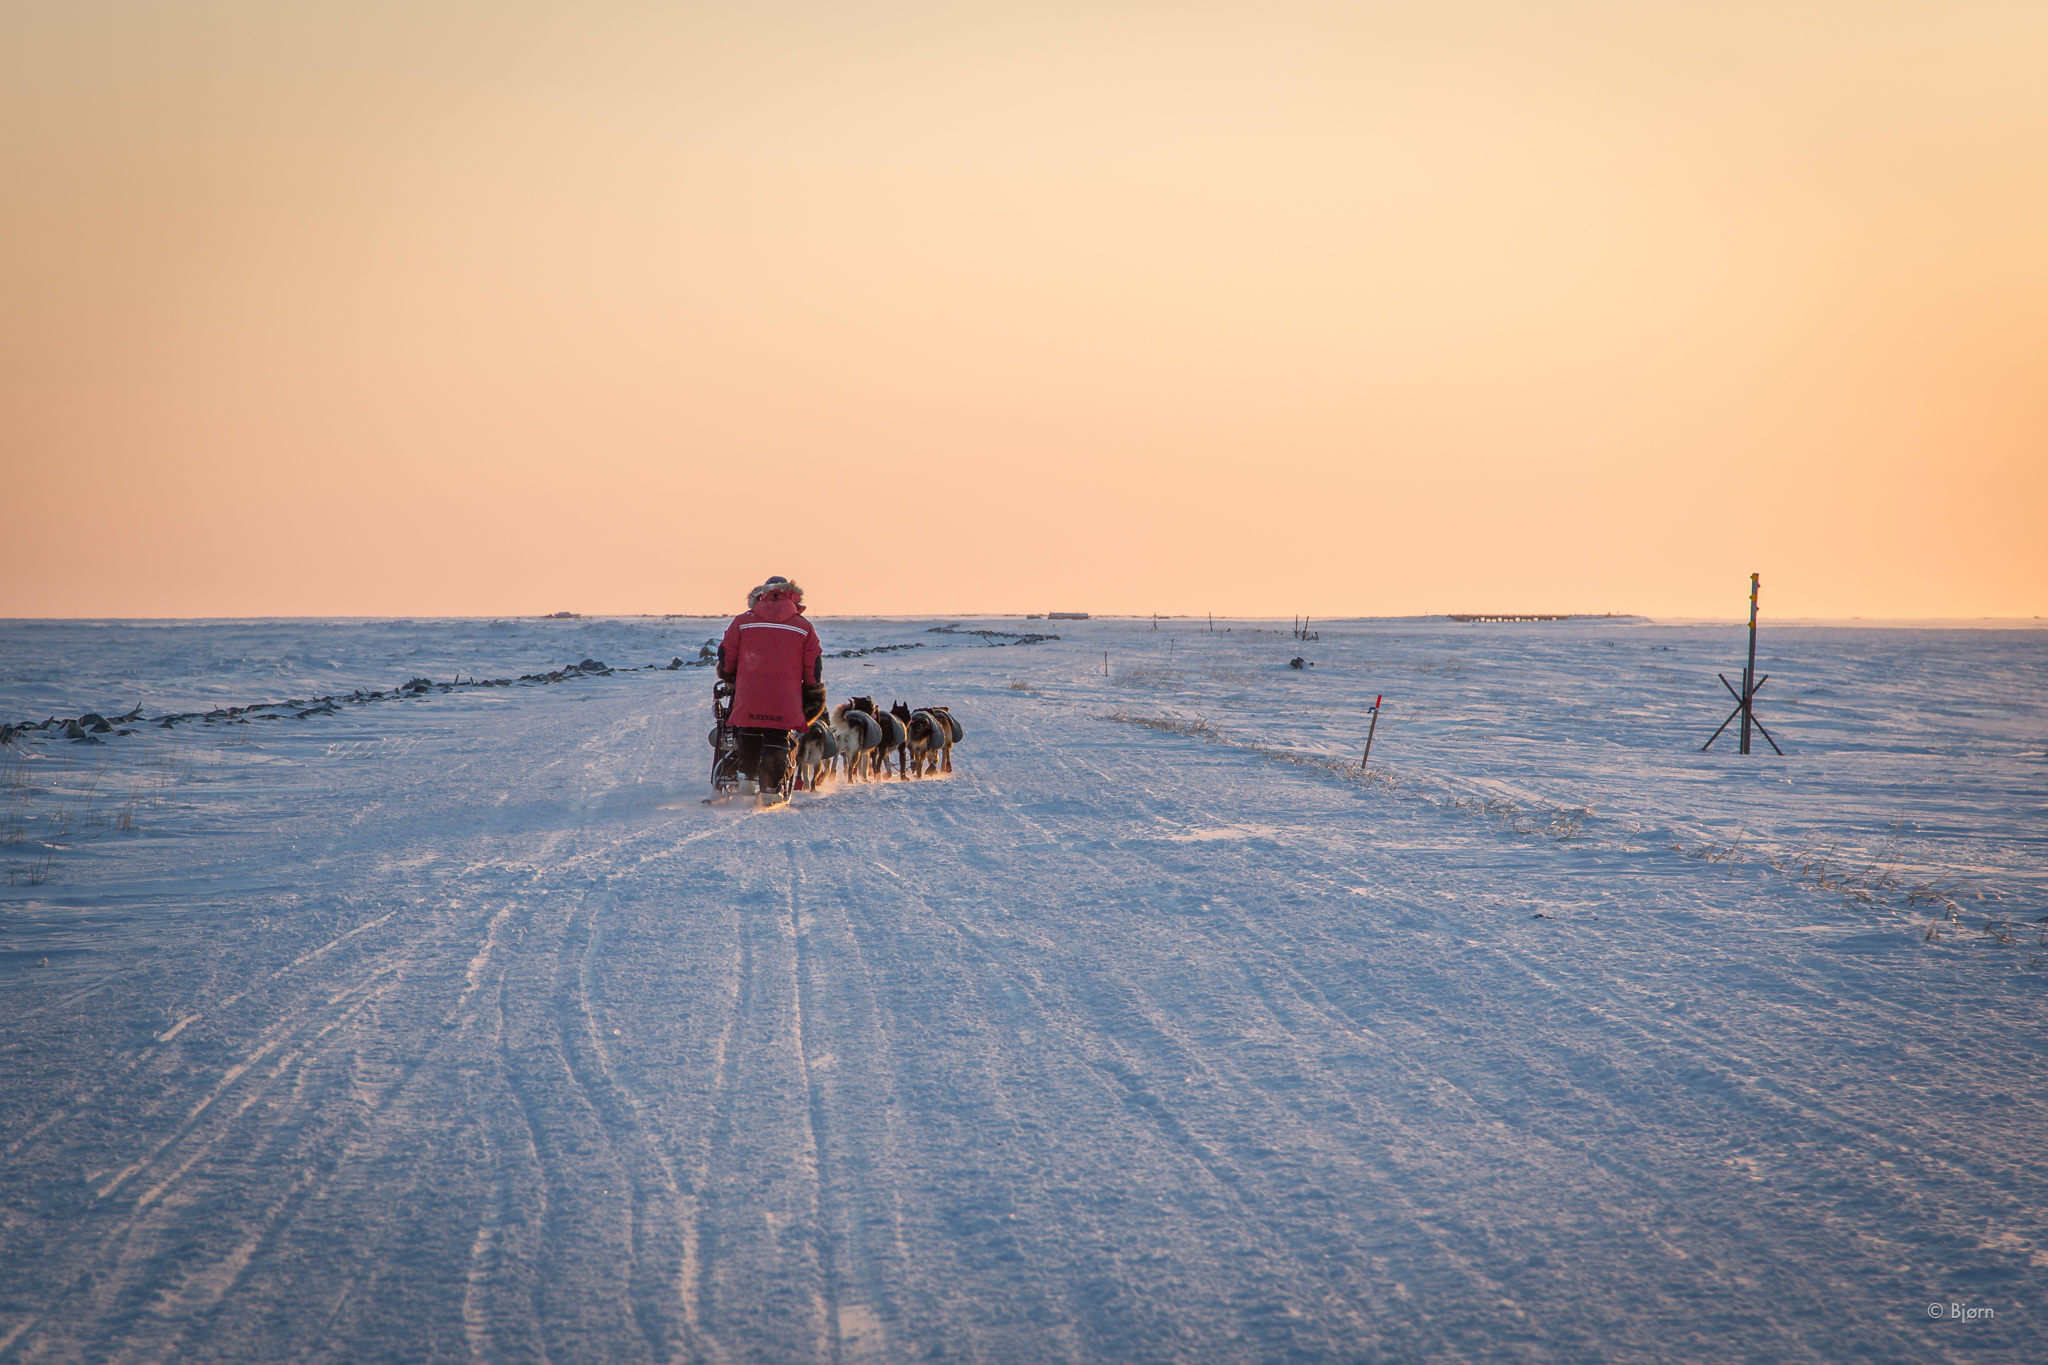
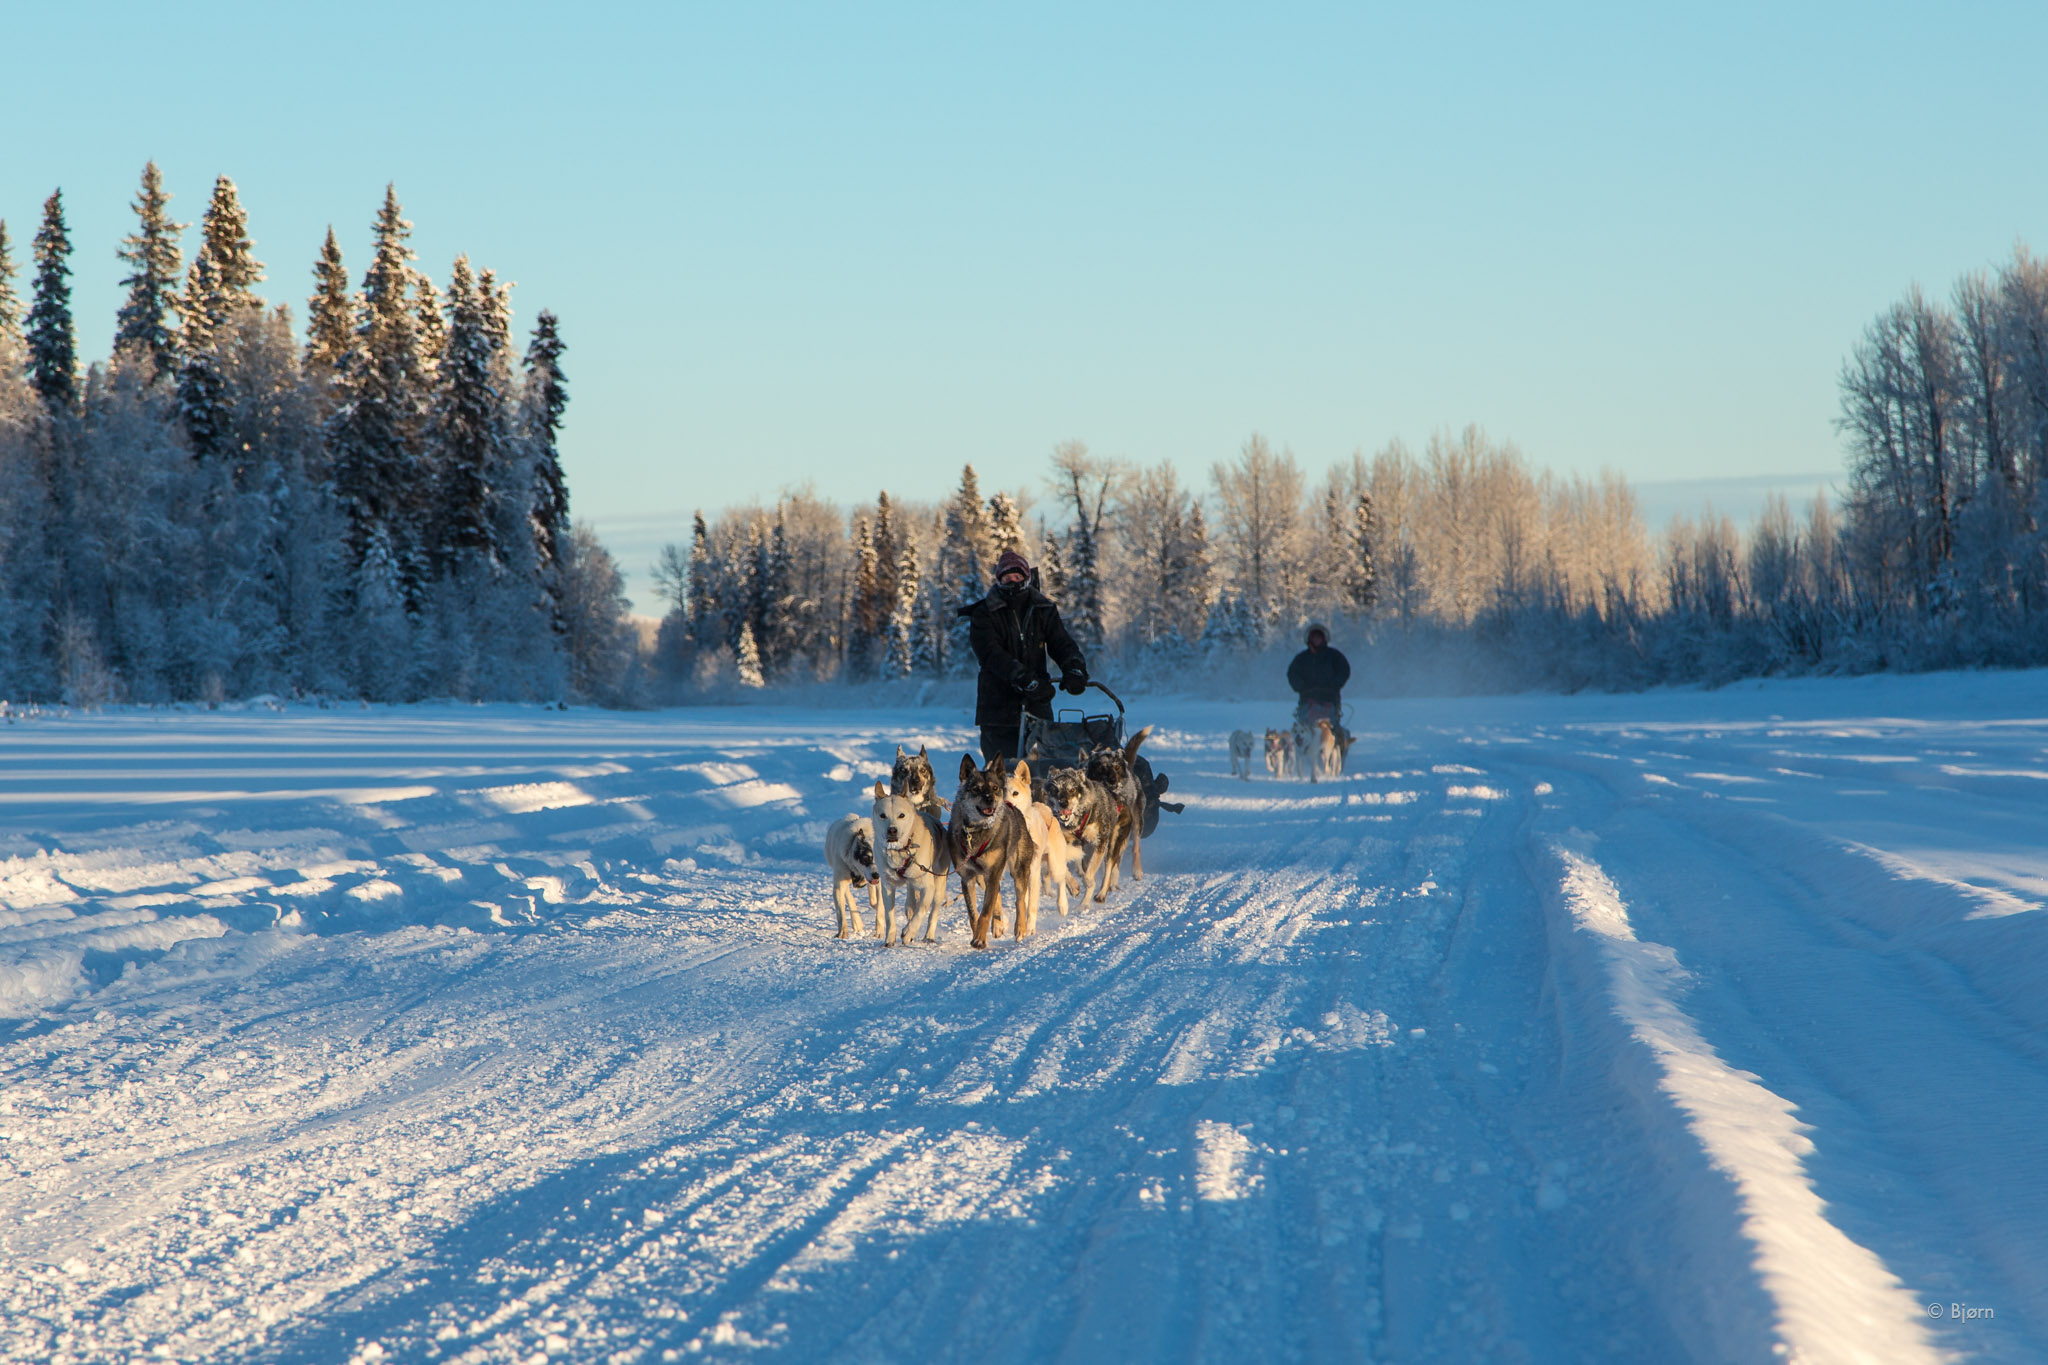
Riding on winter snow trails, like the Iditarod Trail, was the original driving force behind the evolution of the fat-bike, which, initially, were often called snow-bikes. As soon as this breed of bicycle became commercially available, in the mid-2000s, however, people began exploring other possibilities with them. Soft, rough and unmaintained tracts of vast wilderness can now be traversed by bicycle. The only limitations are skill level and imagination.
Co-evolving alongside this new breed of bicycle are two forms of equipment, which allow adventure cyclists greater potential to explore further afield in atypical terrain: soft-bags and packrafts. The soft-bags – like framebags, seat-bags, and handlebar rolls – are ideal for loading a bike with camping equipment while helping to keep the bike well-balanced and nimble feeling in rough terrain.
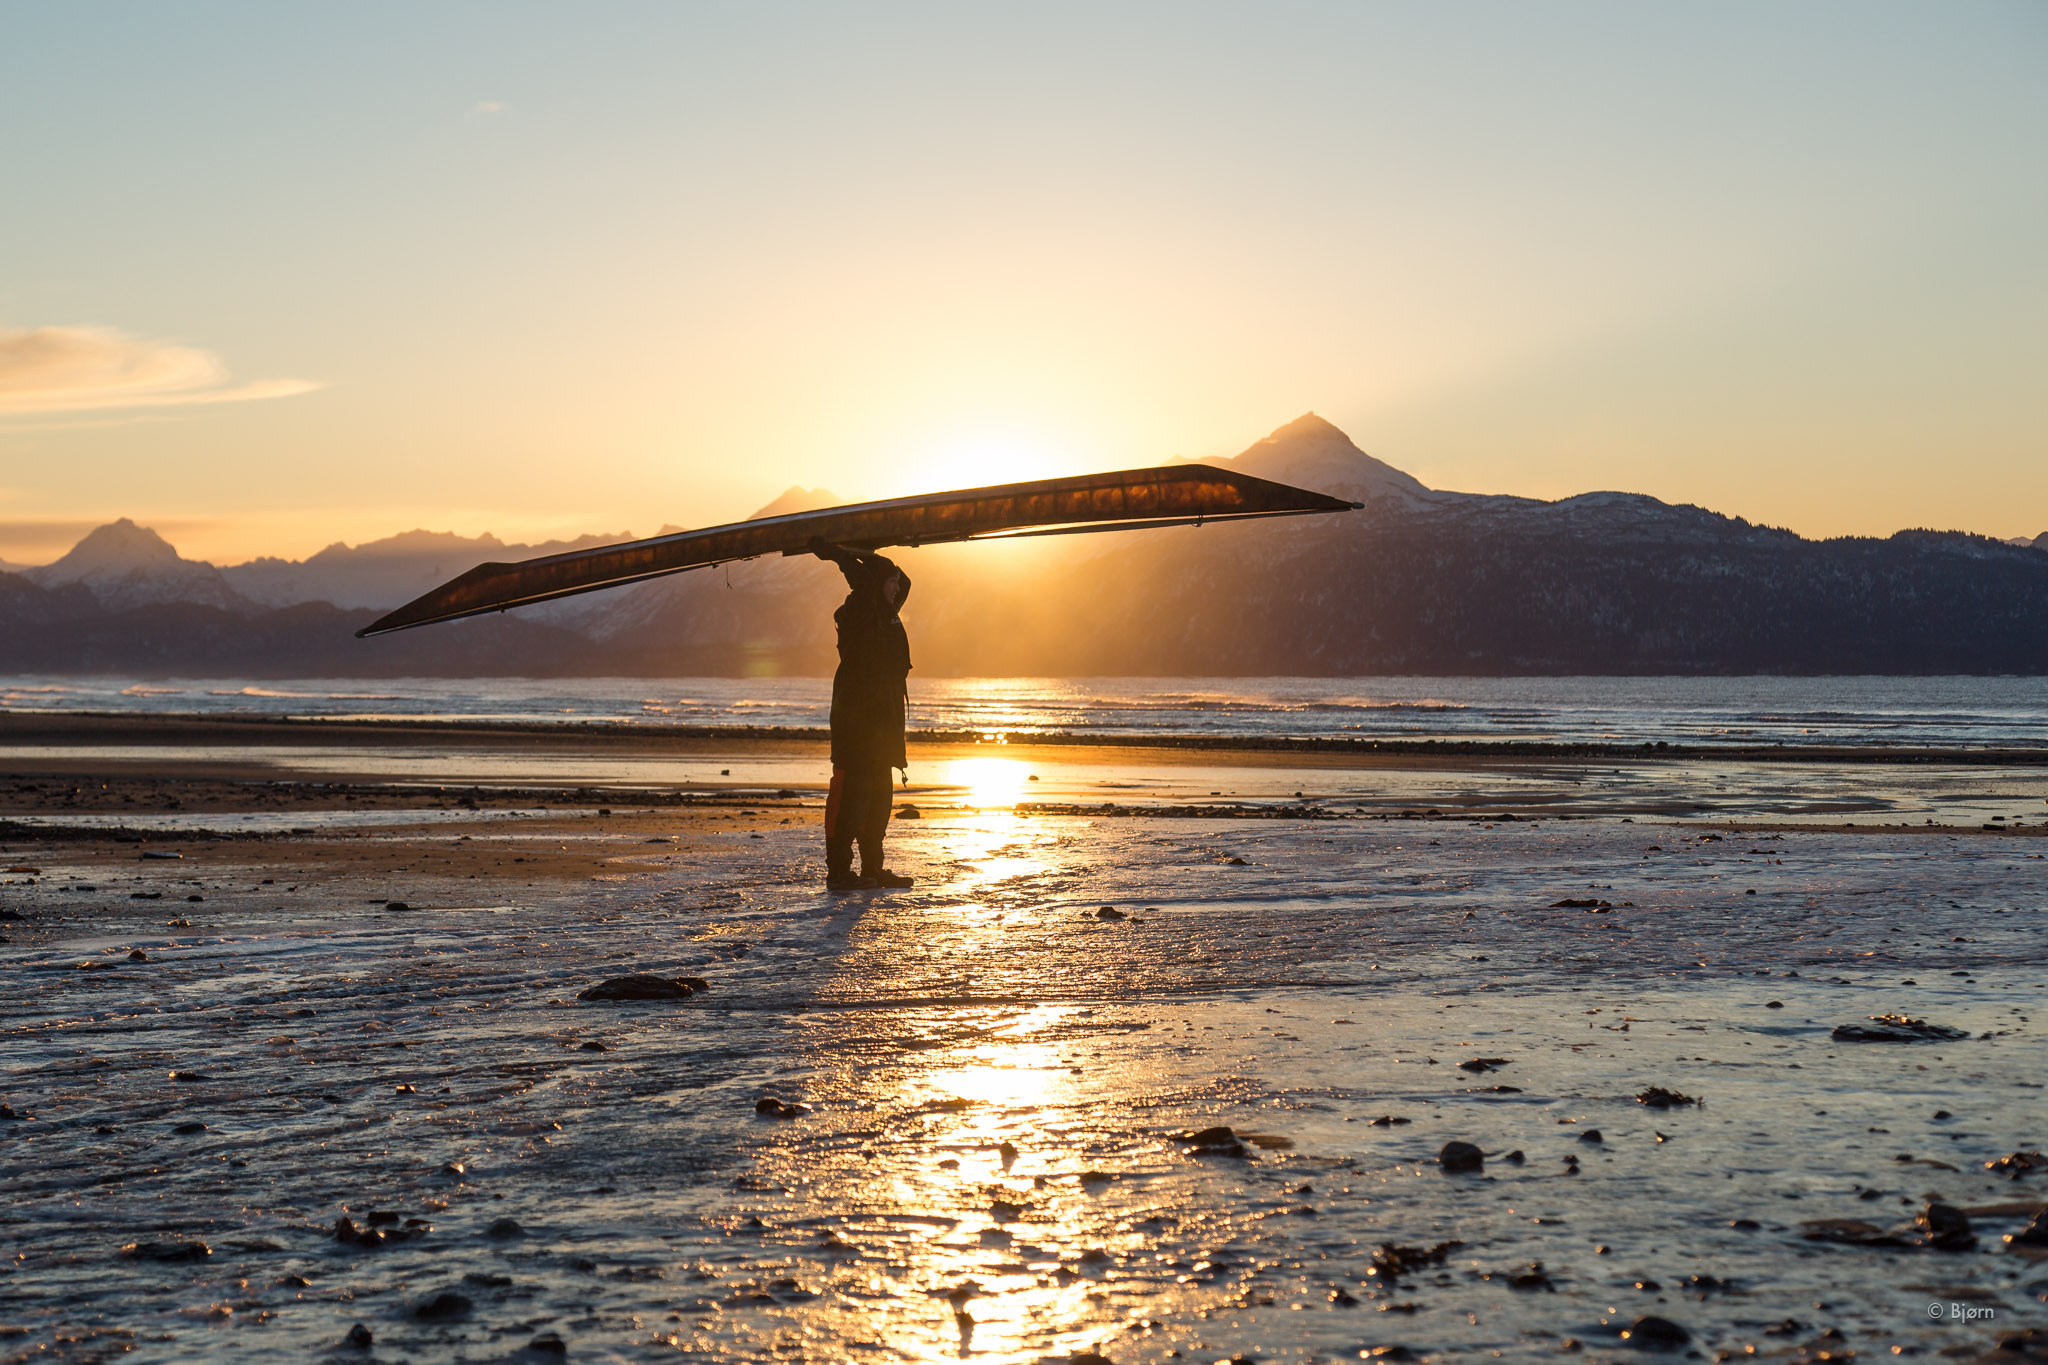
The ultimate compendium for backcountry adventure with a fat-bike, however, is the packraft. Packrafts are sub-six-pound, one-person, inflatable rafts that roll up to the size of a stuffed, summer sleeping bag and are capable of carrying gear plus a bike. More than any other piece of equipment, this type of human-powered watercraft provides the greatest possibilities for the adventure cyclist to explore far off the beaten path.
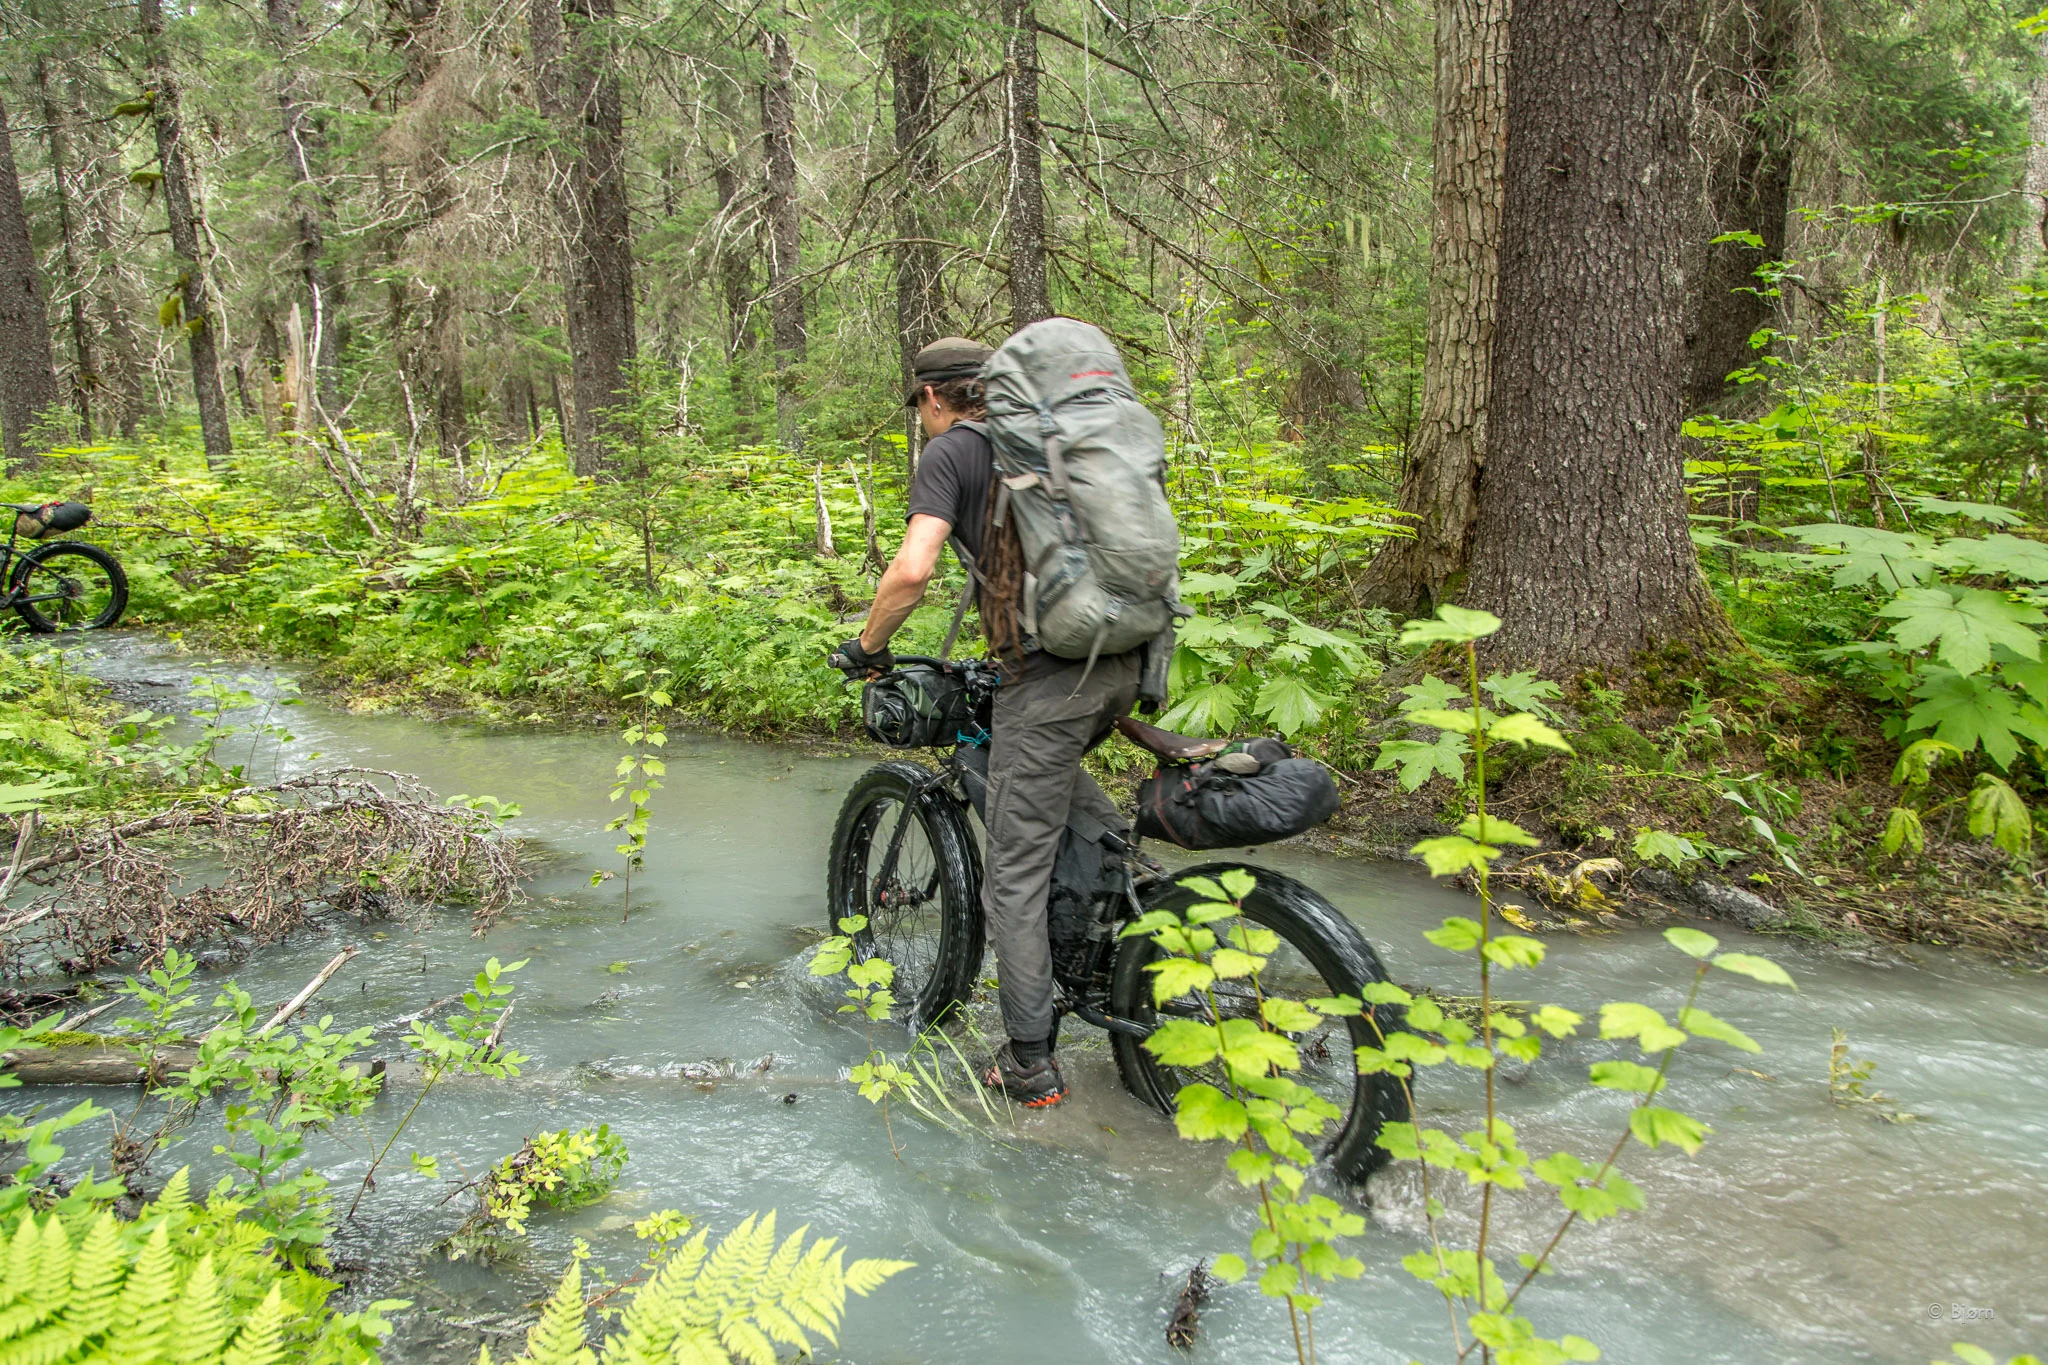
Incorporating a packraft into the bike adventure quiver allows for an enormous variety of otherwise unattainable adventures. The ability to cross creeks, streams, rivers, and lakes or to get around steep headlands, for example, provides access to new cycling terrain. There are routes that involve cycling up one drainage and then paddling back down another or multi-week traverses that require amphibian adaptability.
Several brands of packraft are on the market but one stands head and shoulders above the others - Alpacka Rafts. Alpacka brand packrafts emerged in the 90s out of Alaska and have been in a constant process of evolution ever since. The original Alpacka Rafts were remarkably resilient and lightweight but over the last decade the design, and variety of rafts has seen a surge of improvements. A host of packraft shapes and configurations now exist for specific requirements; bike-rafting is one of them.
If incorporating a packraft into your bike adventures is something you’d like to do, before making the plunge, there are a few things worth considering. Number one is what sort of trips do you plan to undertake. If bike-rafting is your primary objective, then that helps narrow down the options.
It is ideal when packrafting with a bike strapped onto the bow to have a slightly longer raft. If you are planning to run serious whitewater, you may want to have two rafts: one that fits perfectly and is outfitted for whitewater and an expedition boat with more length and simpler rigging. It is optimal to be able to achieve a full forward stroke for maximum propulsion. If the raft is too short, the bike strapped to the front will impede your efficiency while paddling. Furthermore, expedition rafts require few bells and whistles and are therefore, when they are stripped down to the bare essentials, easier to pack and carry.
Many modern packrafts can be purchased with a waterproof zipper on the stern of the boat. This allows you to stow gear inside the raft. There are a couple reasons why a zipper is a good idea: the gear stays dry and out of your way while you are paddling, and the raft becomes more stable when the weight is low rather than up high on the deck. However, zippers require extreme care. One piece of sand in the teeth can spell disaster. As long as you take precautions, the zipper is worth the extra attention they require.
Spray decks come in two flavors: Whitewater and Cruiser. A Whitewater spray deck consists of an all-lightweight-fabric deck with a small, round opening, similar to a kayak cockpit. Around the cockpit opening there is a tube of Pex plastic coaming, which acts as a lip to secure a spray skirt - again, similar to a kayak. The Cruiser spray deck is zippered onto the deck of the raft on three sides and opens with hook and loop fabric on one side. This allows for easy in and out access. Of the two, the whitewater spray deck keeps the most water out. If you plan to roll your raft or expect to be in big waves, the whitewater deck is the better option. For expeditions, the simpler Cruiser spray deck is quite sufficient for keeping your lower body dry from rain and small waves. You can also opt to save a little weight, space and money and foregoing the deck entirely.
Once you figure out which raft suits your needs and make the plunge, the next step is to learn how to use it. This brief article is meant to be only an overview for bike-rafters. Before venturing out, be sure to get instruction and read Roman Dial’s book - Packrafting.
Here are a few specific tips, however, for rafting with a bike to get you on your way.
The first thing you’ll want to get efficient with is your transitions. Bikes carry rafts and rafts carry bikes. When you are underway, it is ideal to be able to switch from one mode to the other in the least time possible. Make sure, however, that you do it properly. Hitting a class 3 wave train or being slammed by a 25-mph gust of wind is not the time to realize you neglected to strap your bike down tight enough or that your load is lopsided.
Most of the time, while cycling, my raft is rolled up tight, with the tougher hull fabric exposed, strapped to the handlebar. The exception is when I know I am going to be pushing my bike for several miles and I want it to be as light as possible. On most summer expeditions I carry a large, lightweight backpack that I can fit my entire kit into. When the riding is good I carry most everything on the bike in soft bags and the raft gets strapped to the handlebar.
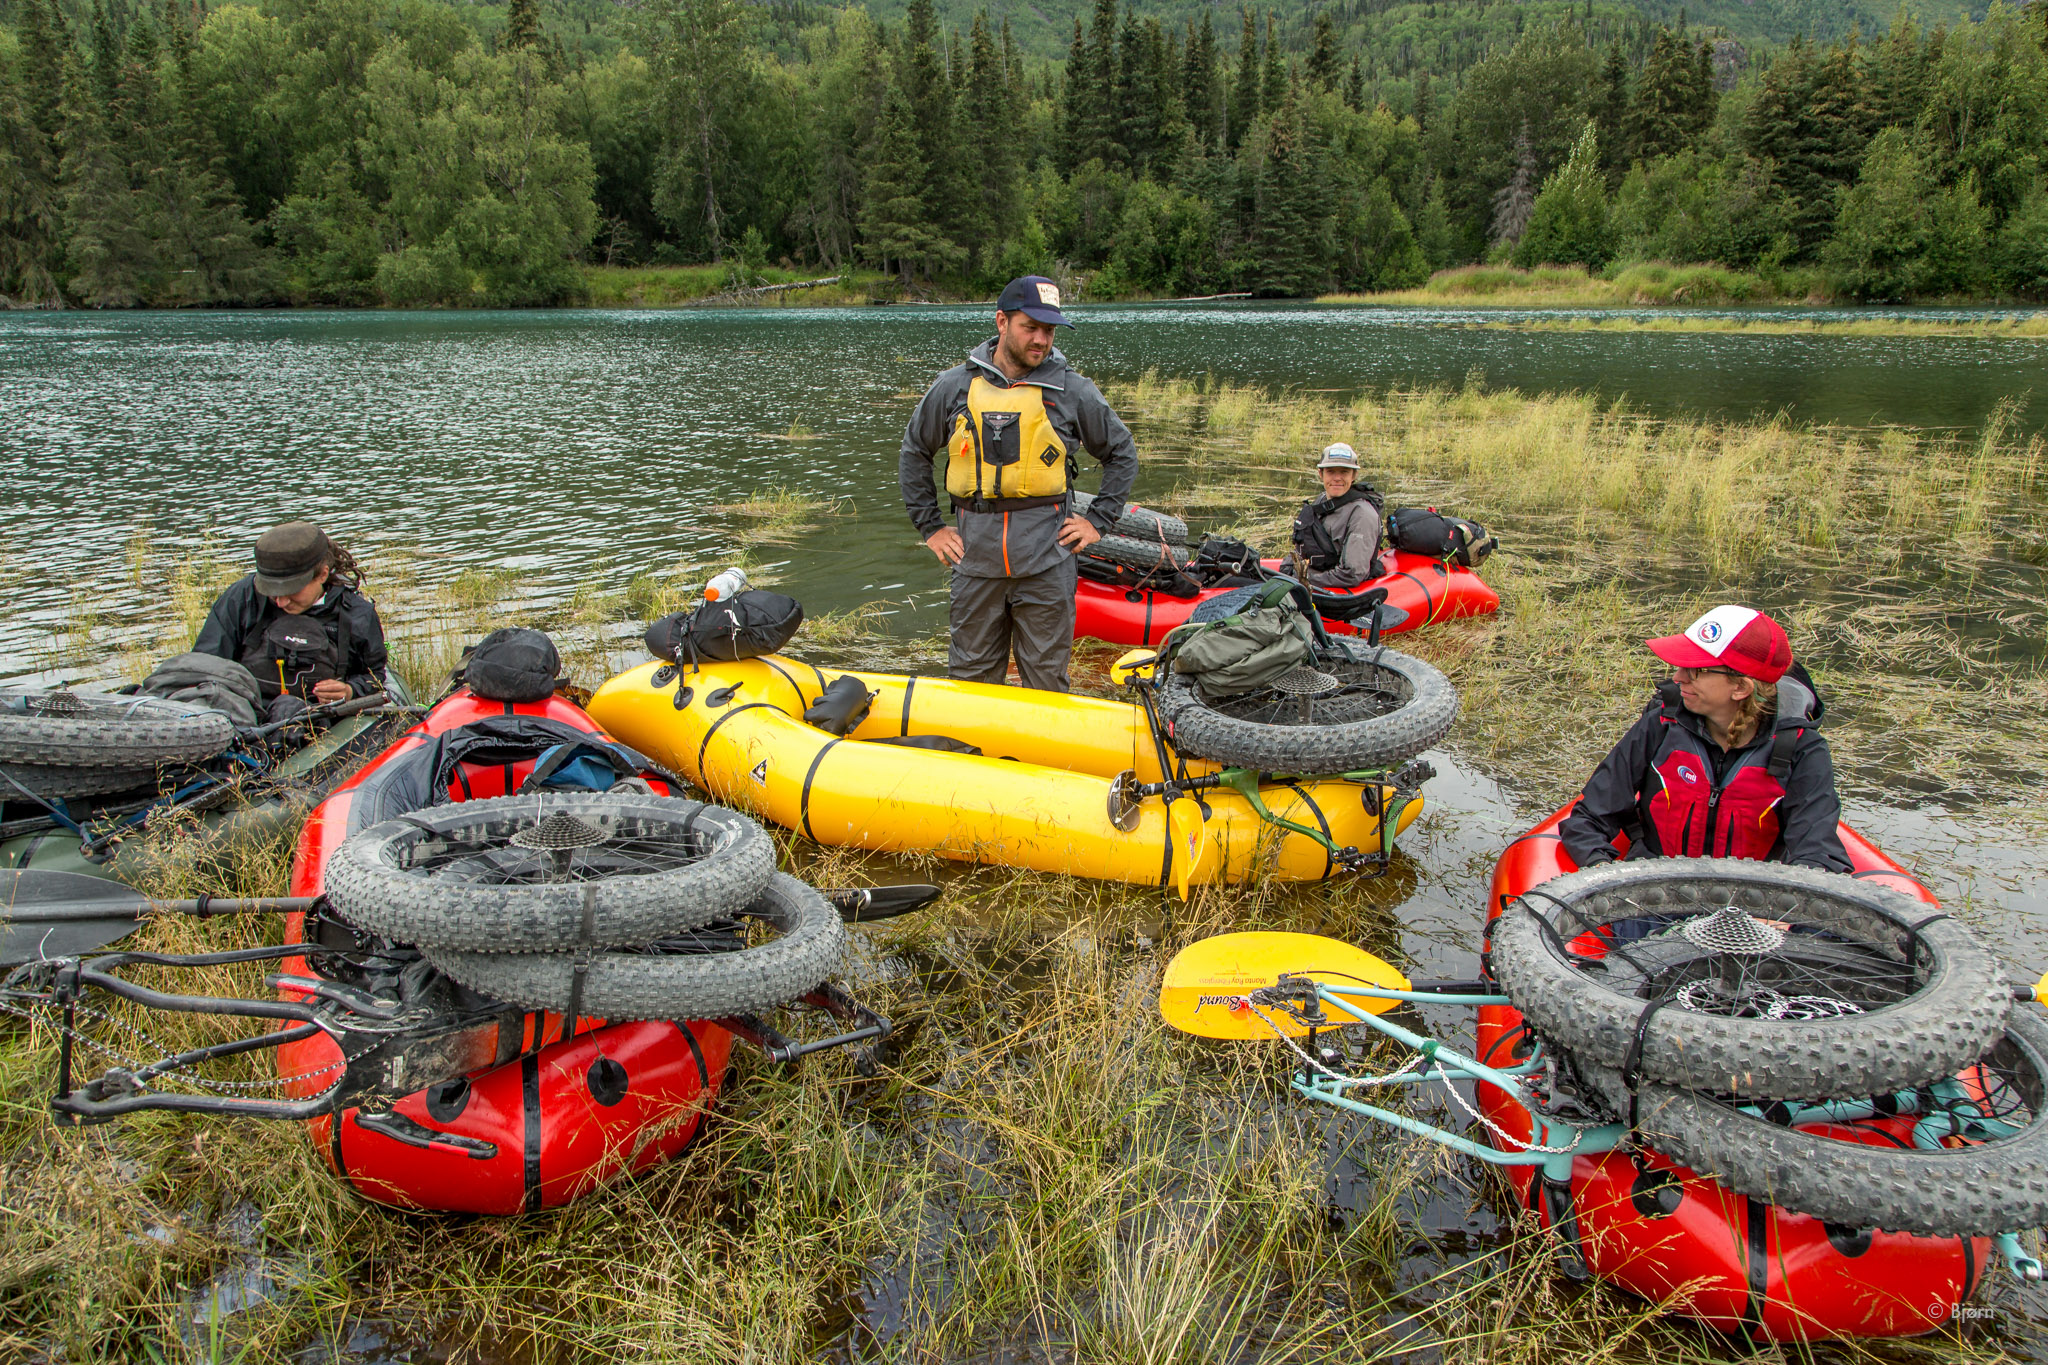
There are two main ways that I strap the bike to the raft when I am in aquatic mode. One way is very fast and simple, but I only ever use this method when making short and calm crossings. This involves inflating the raft, removing the non-drive pedal (create good habits and always store pedals in the same place every time. I put mine in my frame bag. Always!) and laying it across the bow. I then use one strap to keep the bike from falling overboard. The front wheel ends up being in the water with this configuration but if you only have a short distance to cover and it is calm, this is OK. Once I am in the raft I place my pack on my lap and make the crossing. Simple.
The proper way to strap the bike to the raft, however, takes a little more time to set up. This is the technique to use in almost all situations. Required for the proper method are three ladder-locking straps that are at least two feet long and one piece of 3-mil chord that is tied across the bow between the two furthest forward tie downs (d-rings) on the raft.
Begin by inflating the raft and seat. Then remove both pedals from the bike, stow them in a safe place and then remove the front wheel. Place the frame of the bike on the bow of the raft with the drive side up and the fork legs facing forward. Then find the right balance point where the bike is not too far forward or too far back. Too far forward and the bike will want to slip off; too far back will impede your forward stroke. Next, turn the handlebars up and horizontal so the levers and shifter(s) are facing up, and then place the front wheel on top. Once the bike is in the proper position, loosely strap the bike down with the three straps. On the front of the raft there are typically four tie downs. Use the two furthest aft bow tie downs. Connect the 3-mil cord between the furthest forward tie downs and then run one strap from the middle of the cord. After the bike is loosely strapped down, slowly cinch each strap and observe as you go how the load looks and shift or true as needed. If it’s wonky and off to one side, loosen, reposition and then resume.
Learn to use the inflation bag to its potential. Practice inflating your raft in your yard until it feels natural and second nature. Once the raft is as full as you can get it with the inflation bag, continue to force air into the raft with your breath. Then, before launching, place the raft in the cold water and let the air inside cool. This will allow you to get a couple more breaths worth of air inside the raft before you launch. You want it as full and taught as possible. On wilderness trips with a packraft, the transition between one mode to the other eats up time. Being proficient with these transitions is absolutely to your and your trip partner’s advantage.
Pro tip: if there is a breeze, inflate your raft with the stern facing the wind. Use the wind to quickly refill the inflation bag and then force the air into the raft with big compressions of the sack.
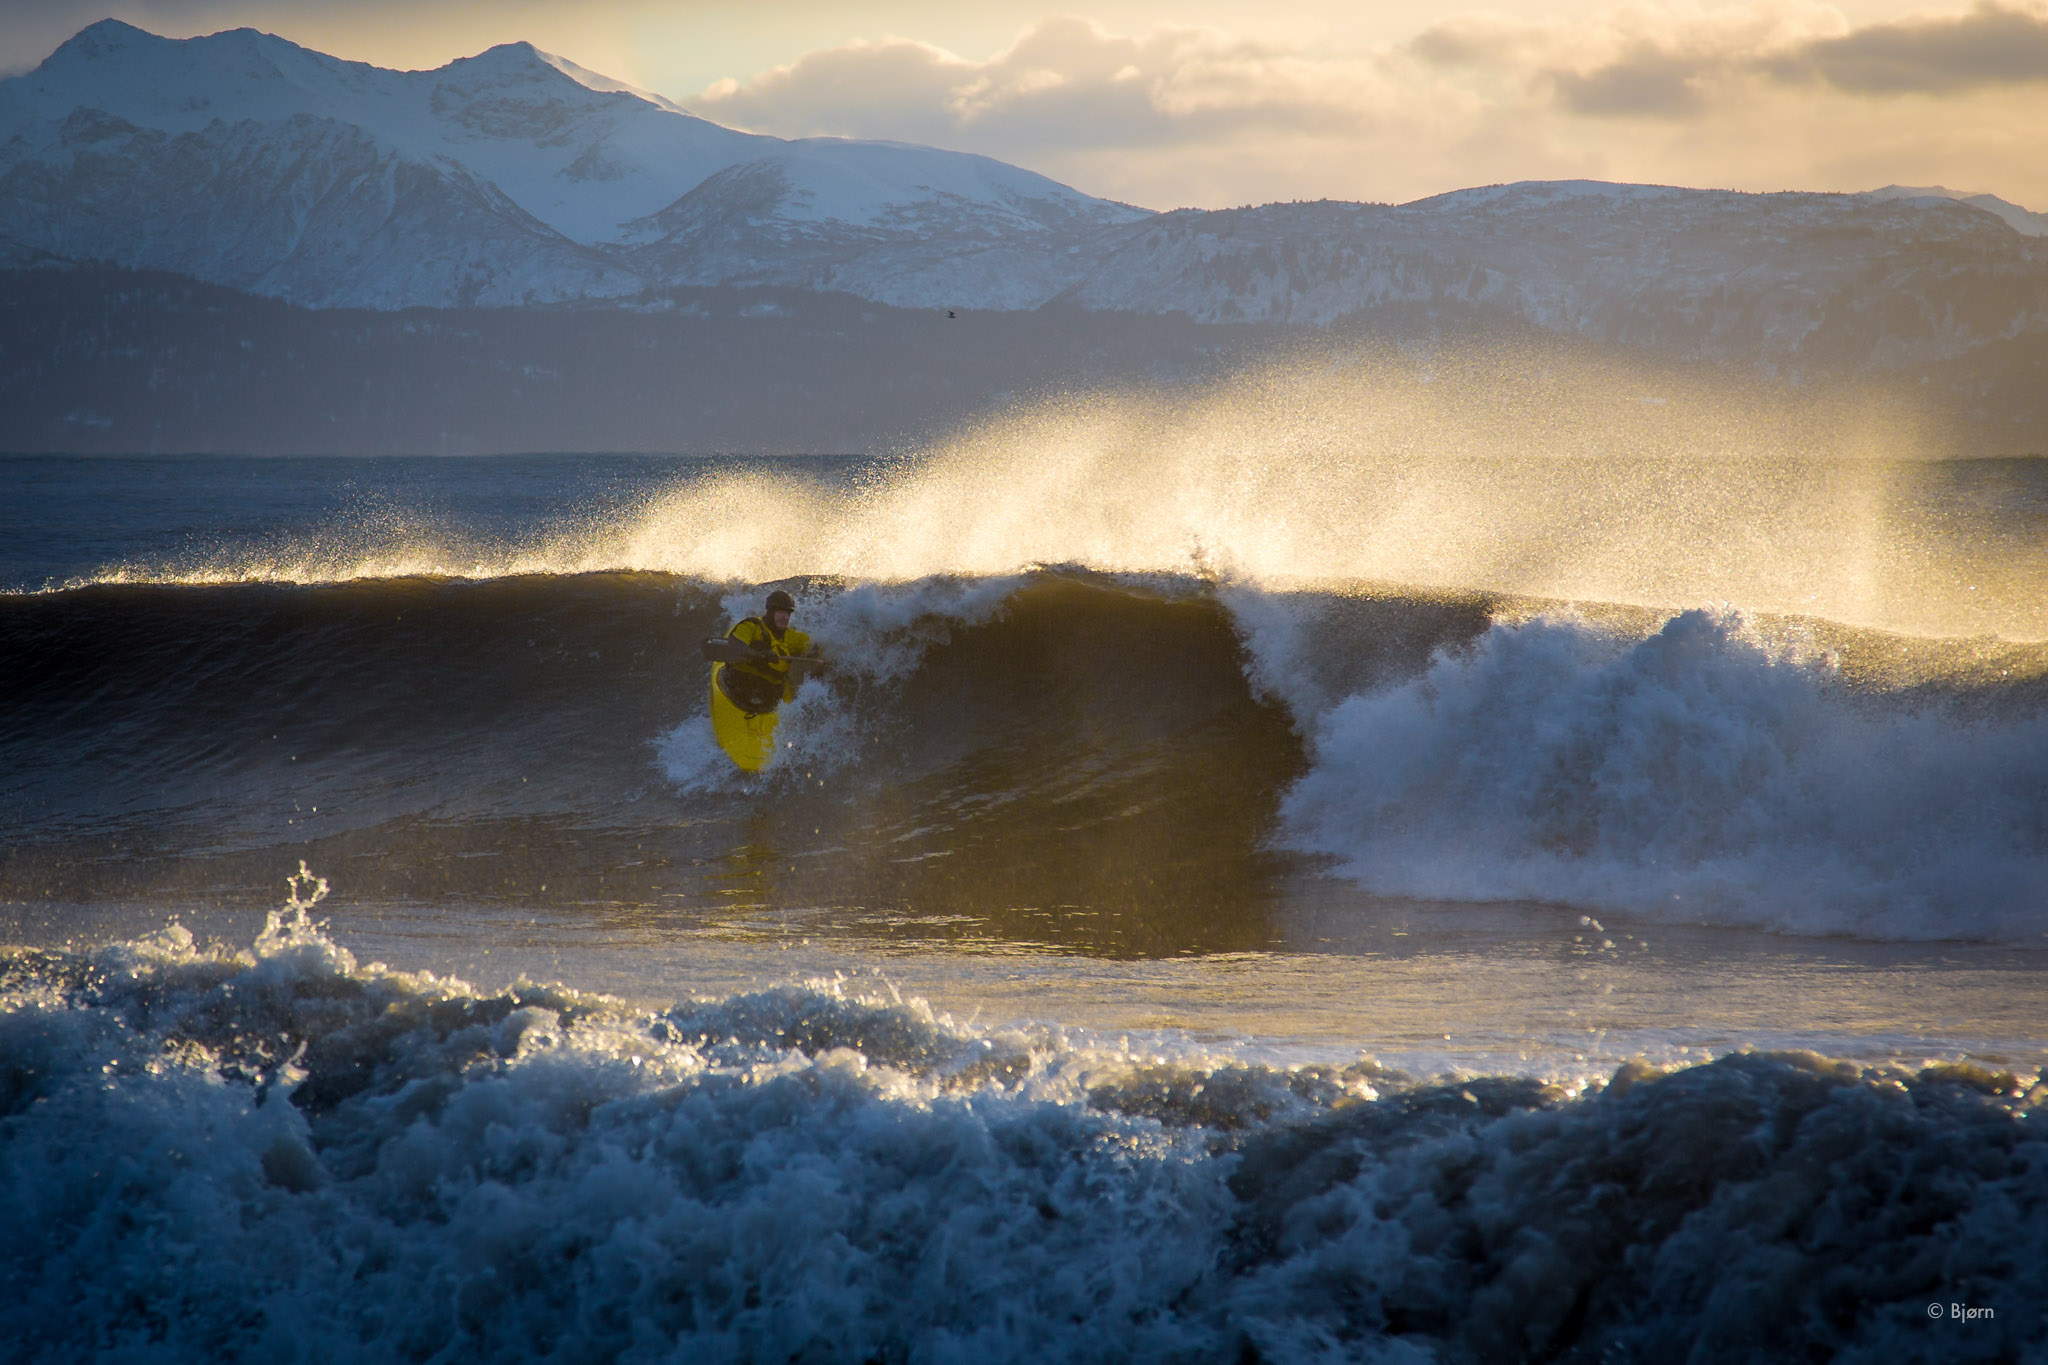
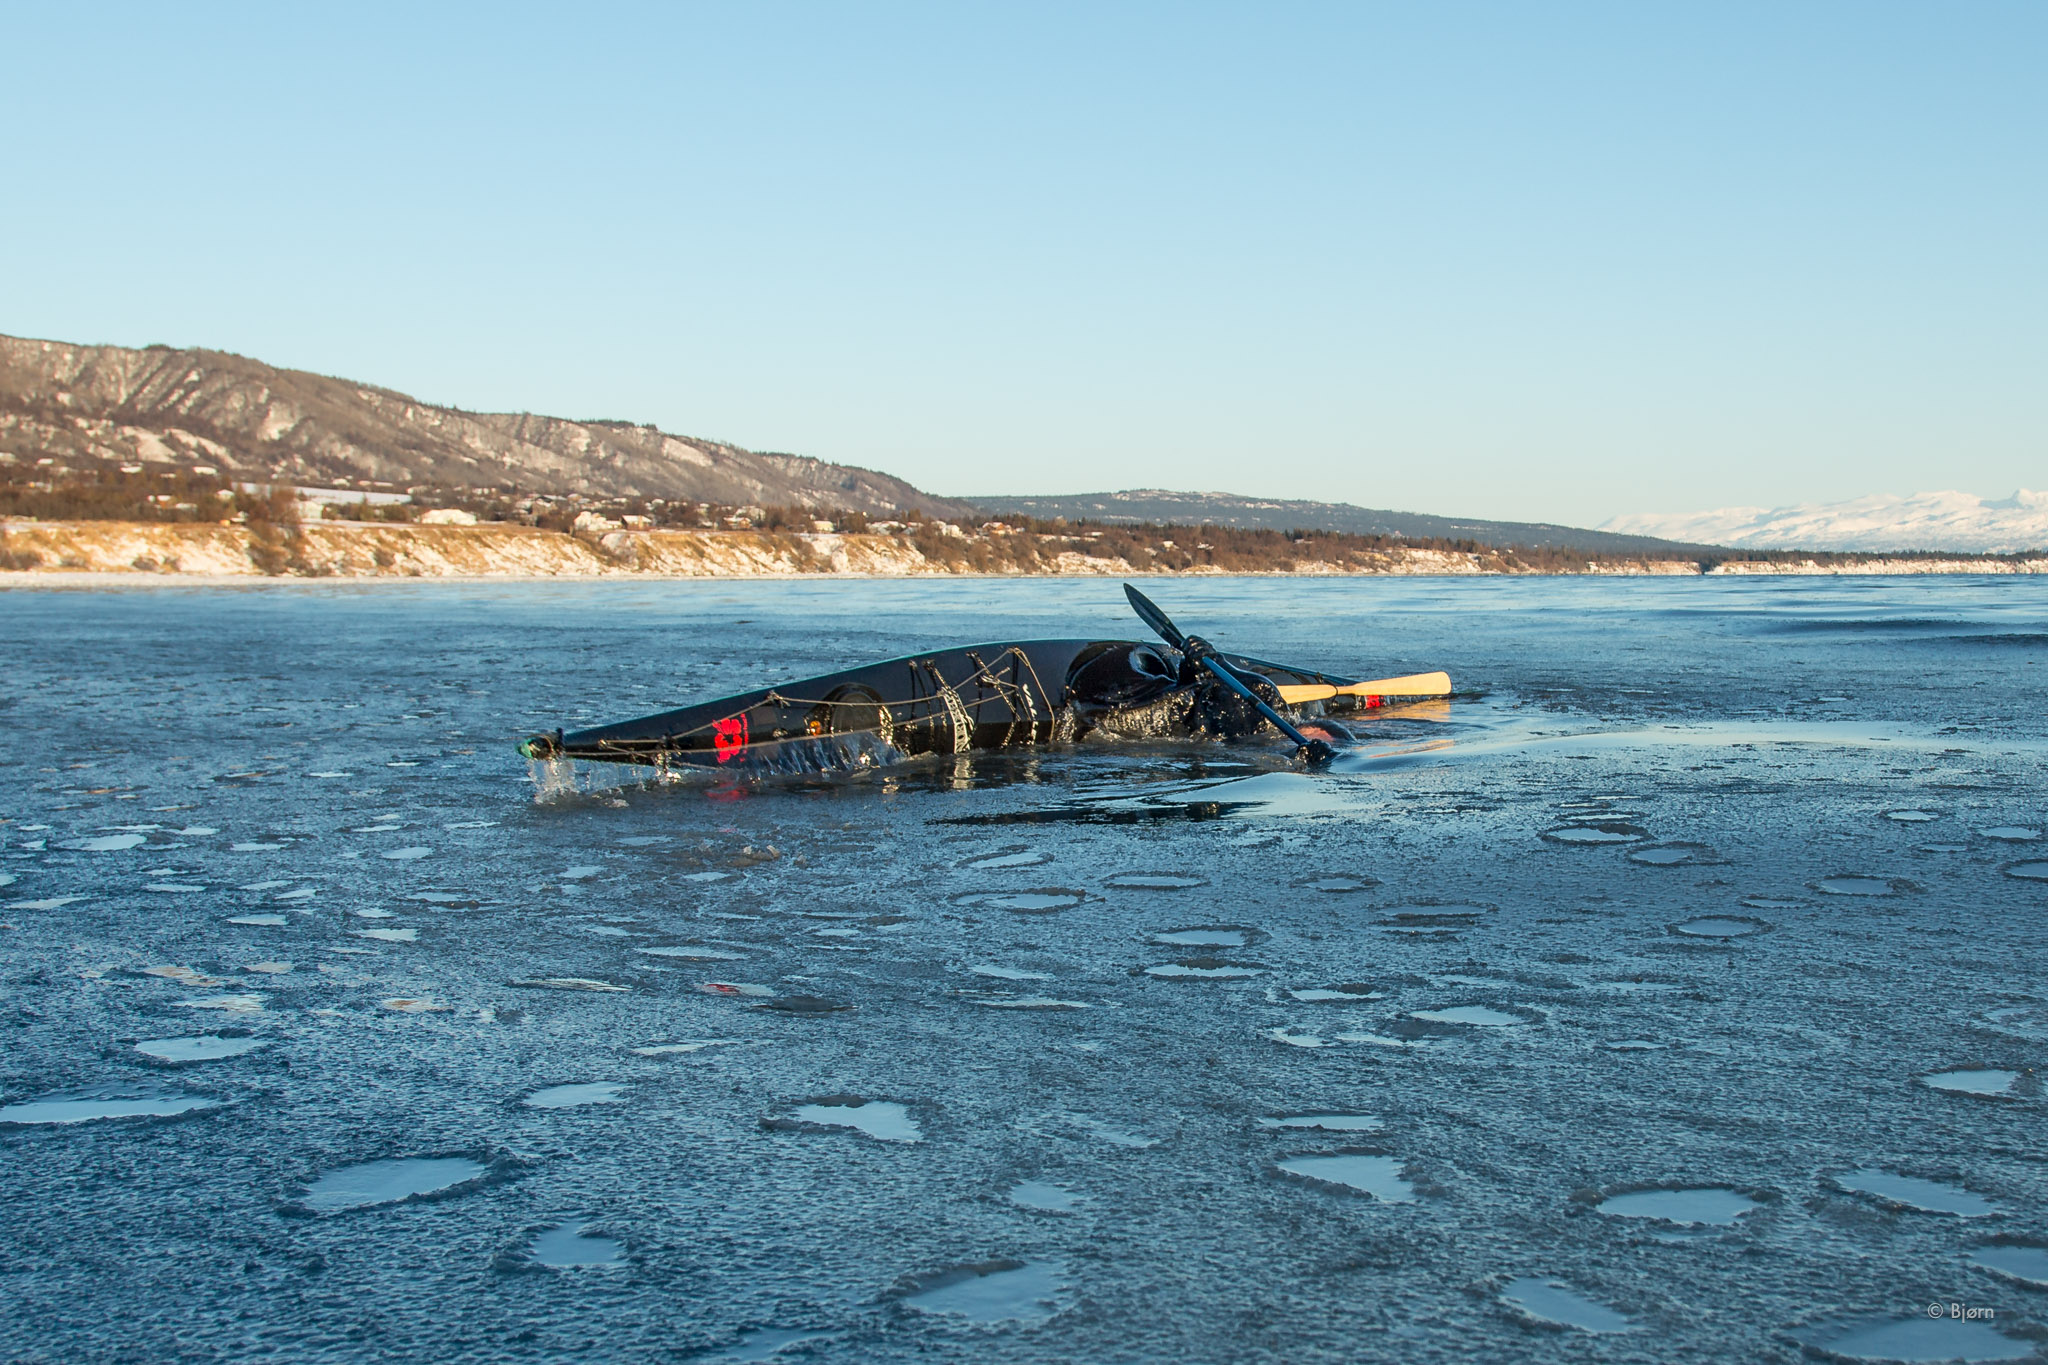
It is important to practice rescues near home in safe, calm waters with friends nearby. Packrafts are very stable but they are nearly impossible to re-right by yourself once upside down, in deep water, with a bike strapped to the bow. Rescue requires either holding onto your paddle and raft, and swimming to the nearest shore or assistance from another friend in a packraft. With you helping in the water, the rescuer in the raft can re-right your raft and then stabilize it while you jump back in. Make sure you never let go of your raft or paddle when you do capsize. If it is windy and you let go, it only takes a second before the raft blows away and you’ll not be able to retrieve it.
Again, work on rescues in calm water with friends before heading out into the backcountry until the techniques become second nature. Panic is your enemy in emergency situations. The solution is familiarity, good teamwork and enough practice that these maneuvers become reflexive.
Other equipment you’ll want is a four-piece breakdown kayak paddle, paddle leash, a personal flotation device (PFD) and perhaps a dry suit.
There are many suitable kayak paddles on the market but the ideal packrafting paddle is a breakdown paddle that breaks into four pieces - where the shaft meets the paddle blades and in the middle of the shaft. This allows you to stow the paddle without long ends sticking out to catch on brush and tree branches as you cycle along. I also prefer a slightly longer paddle for packrafting than I would use for kayaking.
The lightest paddles are made entirely of carbon fiber but there is a strong argument for nylon blades. Nylon is very strong material and therefore the paddles last longer and withstand abuse better. I often use three sections of my packraft paddle as the center pole in my floor-less mid-shelter and I sometimes use the blade as a shovel to scoop dirt, sand or gravel around the edge of my shelter to help keep it anchored when it is windy. I would not use the more fragile carbon fiber blades for these tasks. Personally, the slightly heavier blades are worth the weight penalty because of the increased durability and their dual-purpose nature.
There are many PFDs on the market and choosing the one that suits your needs is a personal choice. Some people like PFDs with a lot of bells and whistles but, for packrafting, I prefer a very simple, snug-fitting one. Inflatable PFDs are nice because they stow away into the smallest package and you can inflate them to just the right amount to use as a pillow at night.
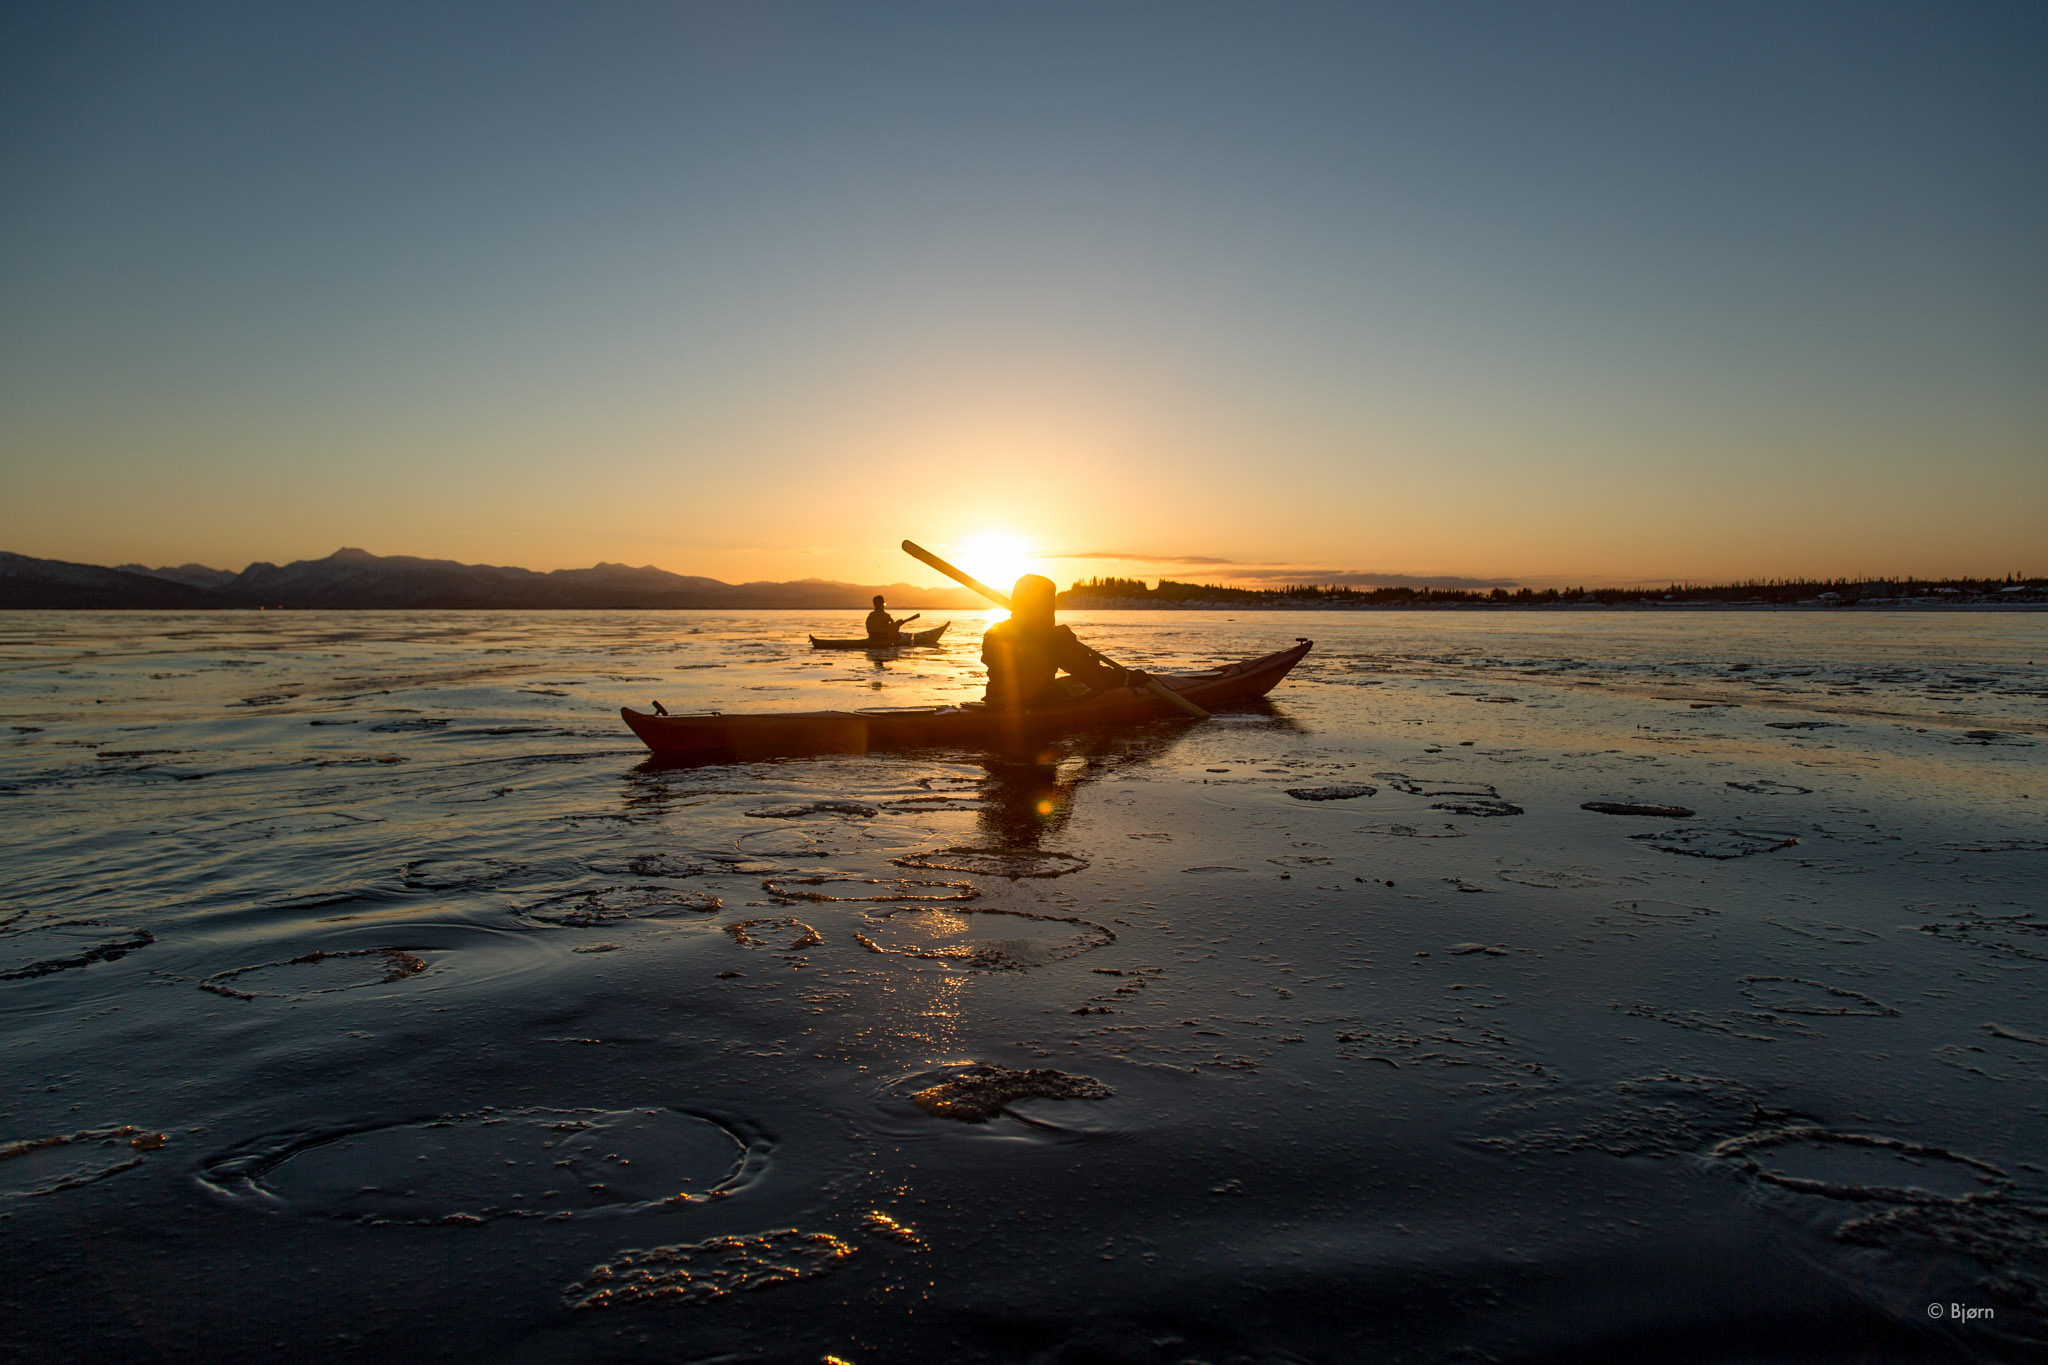
Paddle leashes can be valuable when paddling on flat water, like lakes, bays, fjords, etc. The leash can be a simple as 3 to 5-mil chord tied to the middle of the paddle on one end and the bow of the raft on the other end. Six or so feet of cord is plenty but make sure you have enough to achieve a full forward stroke as well as your sweep and rudder strokes. The value of a paddle leash, when paddling in flat water, is that if you ever capsize all you have to be sure to do is hold onto the paddle. Your raft will be safe from blowing away. Never use a paddle leash if you are in water that has current. In current, the leash can wrap around an obstacle like a rock or tree, and you can quickly become hopelessly entangled.
Although packrafts are remarkably tough they are not indestructible. Learning to field-repair your boat is as important as knowing how to fix a flat or true your wheel. Always carry a repair kit and learn how to use it. The items I always carry are the patches Alpacka provides, alcohol swabs, a sturdy sewing needle, dental floss for thread, a few feet of Tyvek tape wrapped around a Bic lighter, a tube of Aquaseal and a smaller tube of quick-drying UV Aquaseal. If the trip is longer than a week, I often also carry a spare valve and a spare d-ring.
Dry suits are a remarkable piece of safety and quality-of-experience equipment, especially in cold climates, but they are also bulky and heavy. Most often, mine stays home on bike-rafting trips. Instead, I rely on my rain gear and do everything in my power to keep from capsizing. The Alpacka/Kokatat drysuit is very lightweight, specifically made for the fast-and-light packrafter. If I plan to run whitewater or will be making long crossings, I sometimes use this suit on trips. Because it is so lightweight, it is recommended to wear rain gear over the top of it to help prevent it from tearing and abrading.
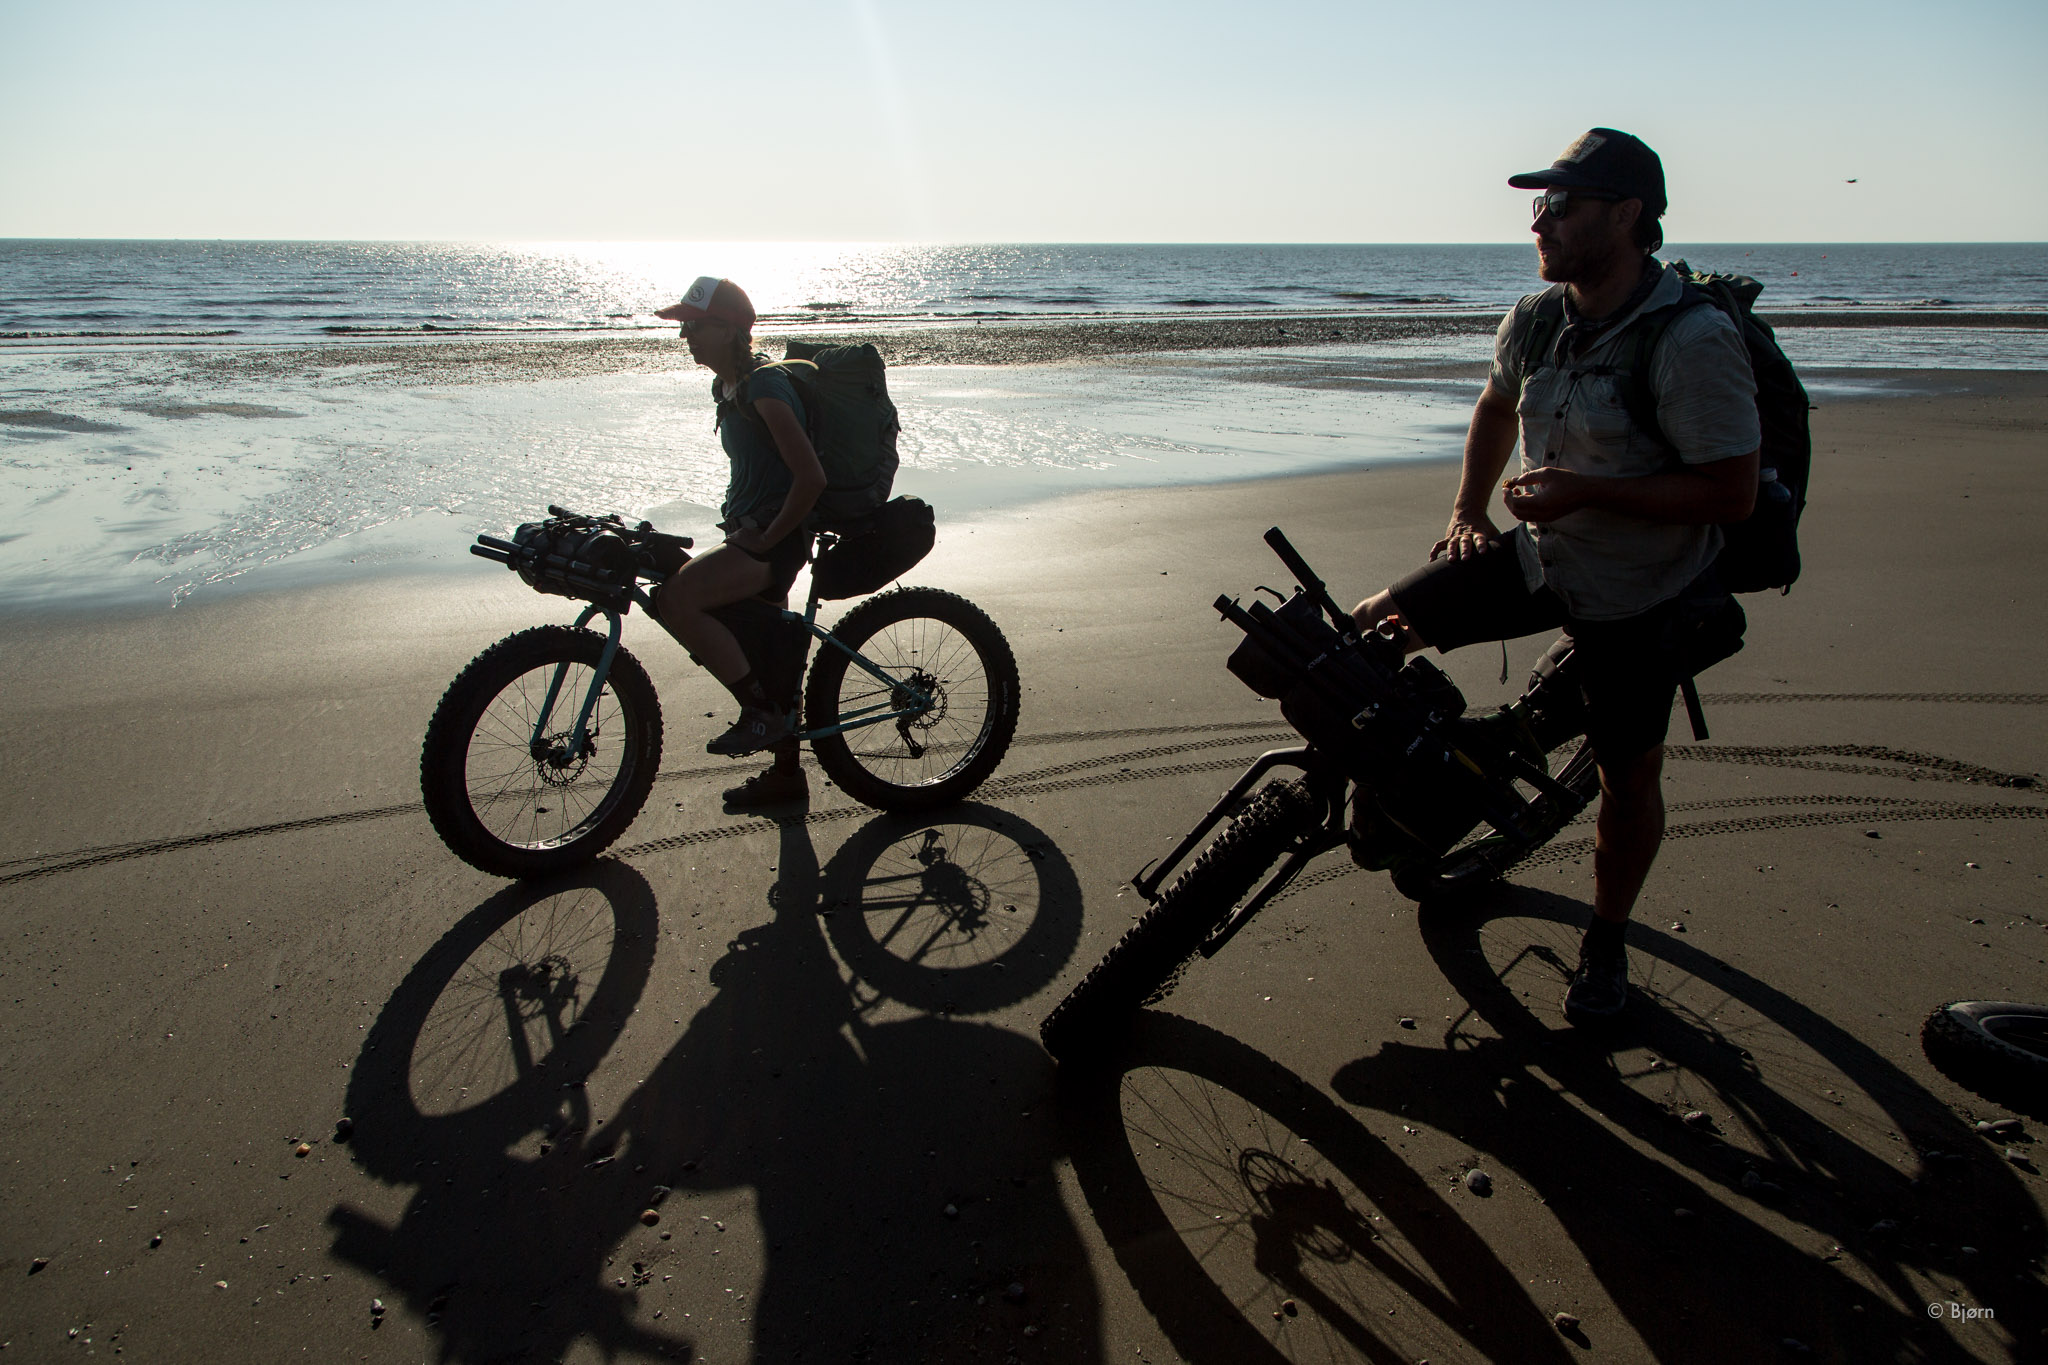
There are countless other gear and technique considerations for the wilderness cyclist looking to expand their range with the aid of a packraft but step one is getting out there and trying it. Start with small, bite-sized and low consequence trips. Keep your expectations honest and conservative, and always go with at least one reliable buddy. Once you feel efficient, safe and comfortable, take it to the next level. There is always a next level. Whatever that is, is up to you to decide. But in this era of wilderness exploration with a Salsa bike and a good packraft, the equipment won’t be what holds you back.